After moving into our new home, the walls were bare and the boys room felt empty. I missed the cute nursery we had created in our old home and realized that’s was a major component that our house feel like a home.
When I thinking about sprucing up the boys’ new room, I didn’t want create something too “babyish”. The boys are almost into toddler beds and it won’t be long before they are running into our bed early in the morning. I wanted their nursery in our new house to be a space that could grow with them over time.
Since we live in Colorado, I was inspired by this link on Pinterest. I wanted to create mountains in hopes that my kids will value adventure in their lives. Who knows what they will be into as they get older, but I felt pretty safe going with an outdoor theme. After all we are raising two boys in Colorado!
This nursery painting project was done in two parts. You might be thinking…well duh it needs to dry! That was part of it, but in reality I am a stay at home mom of twin boys. The only kid-free time I have is during nap or at night after they are in bed. But how does one paint a room while they sleep in it?
Ya don’t!
I had to get things accomplished on the weekends while my husband played with the boys in another room.
At Home Depot we picked out samples of bright greens and blues. We ended up choosing Afton Blue and Kelly Green by Behr for this project. Behr paint is great because it includes a primer and has no VOCs.
Here are the materials you will need to complete this easy DIY accent wall:
- Painting tape
- Angled brush
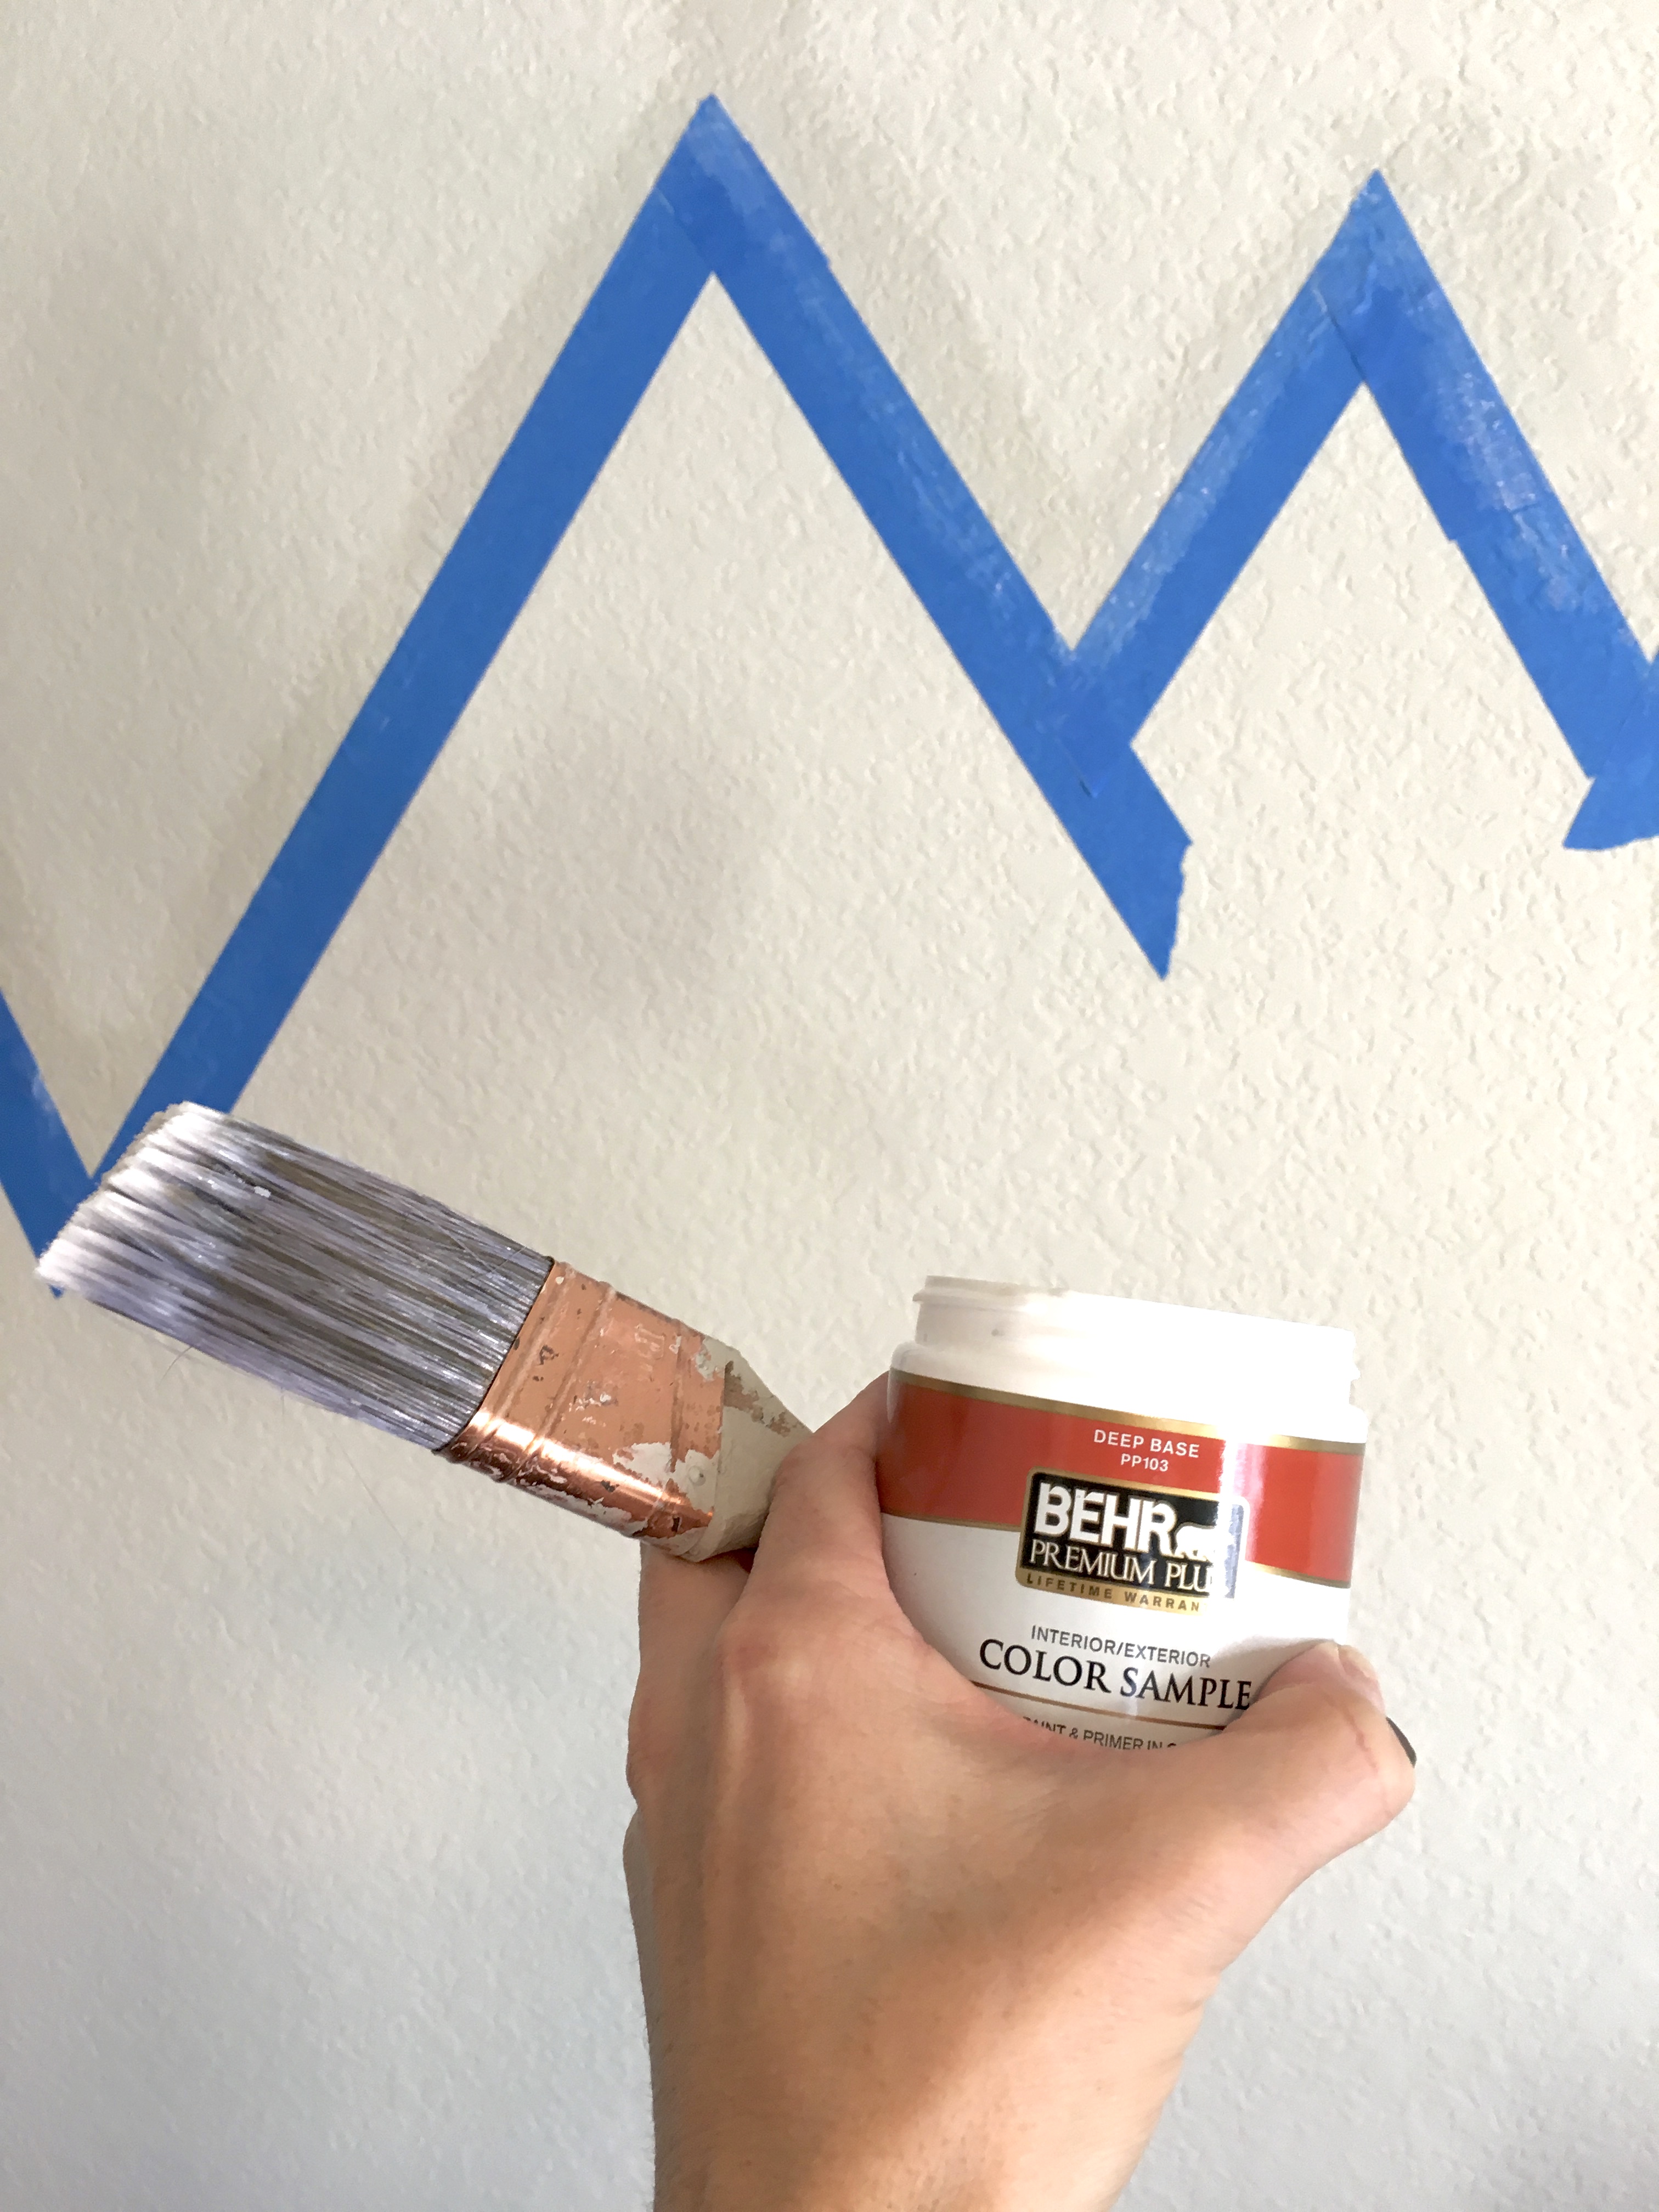
- Behr color sample (with no color added)
- 2 cans of paint (colors of your choice)
- Paint roller and tray
- Old sheet, tarp or painting cloth to lay down on furniture
- Step stool
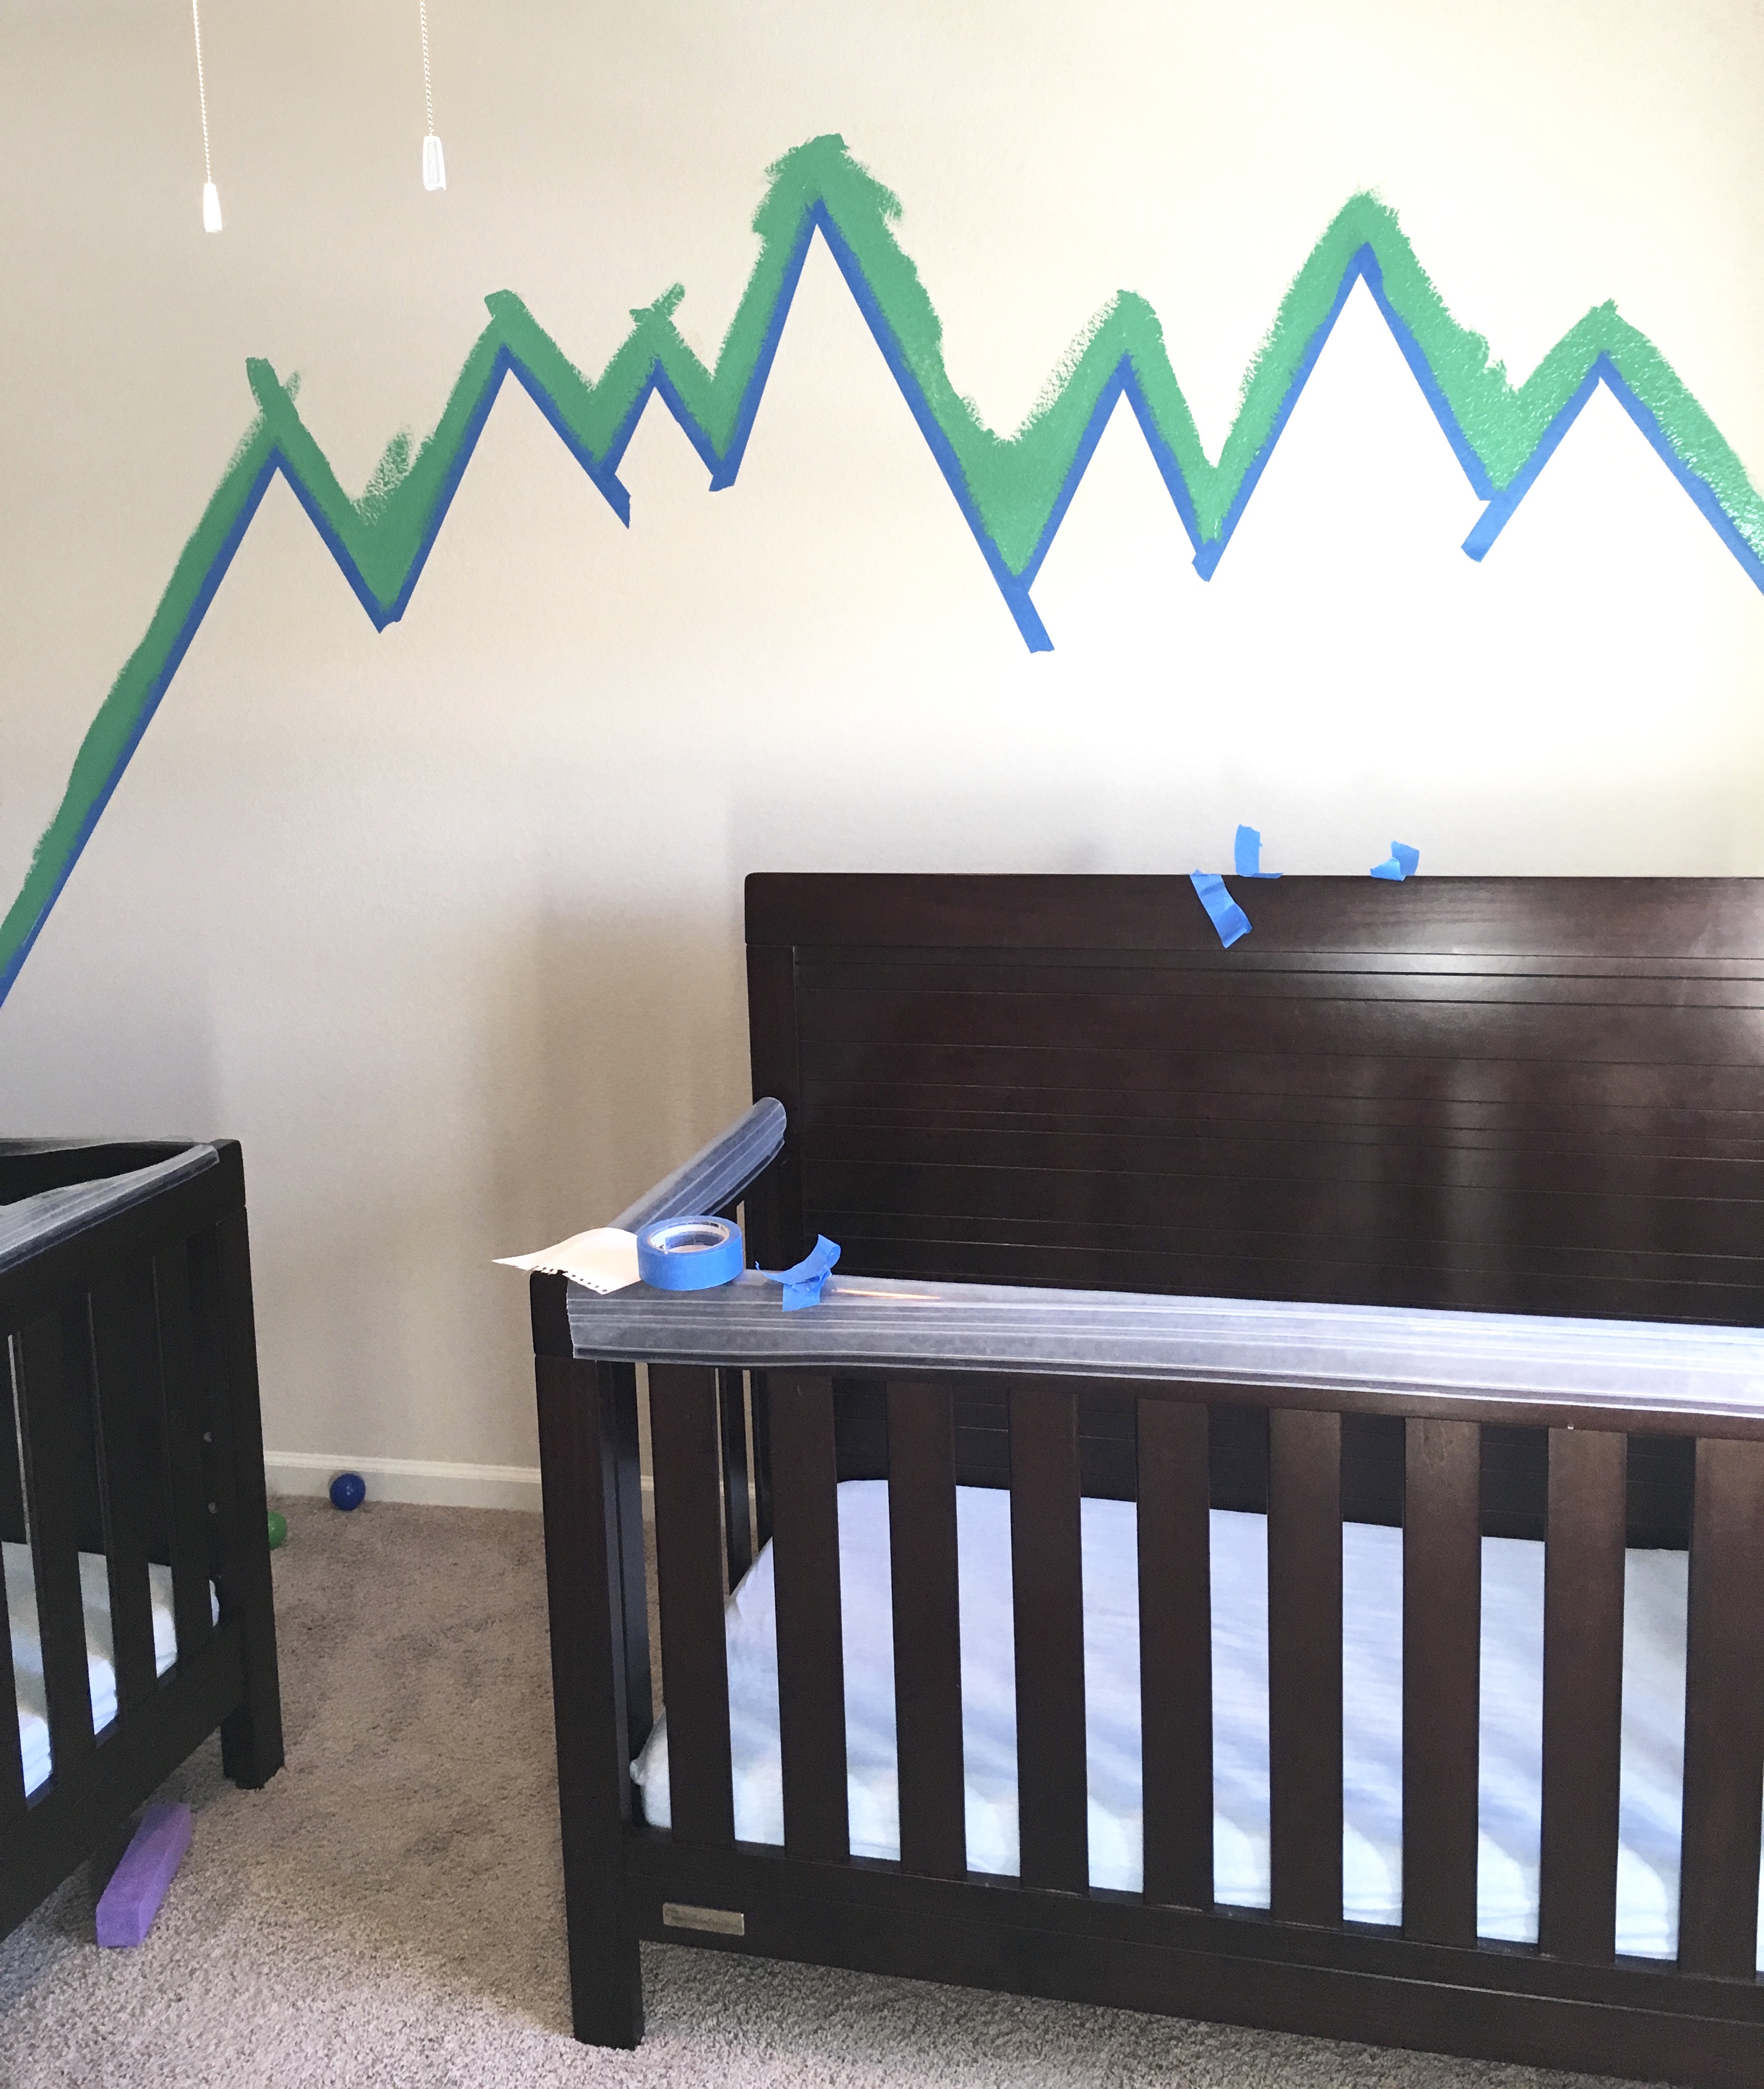
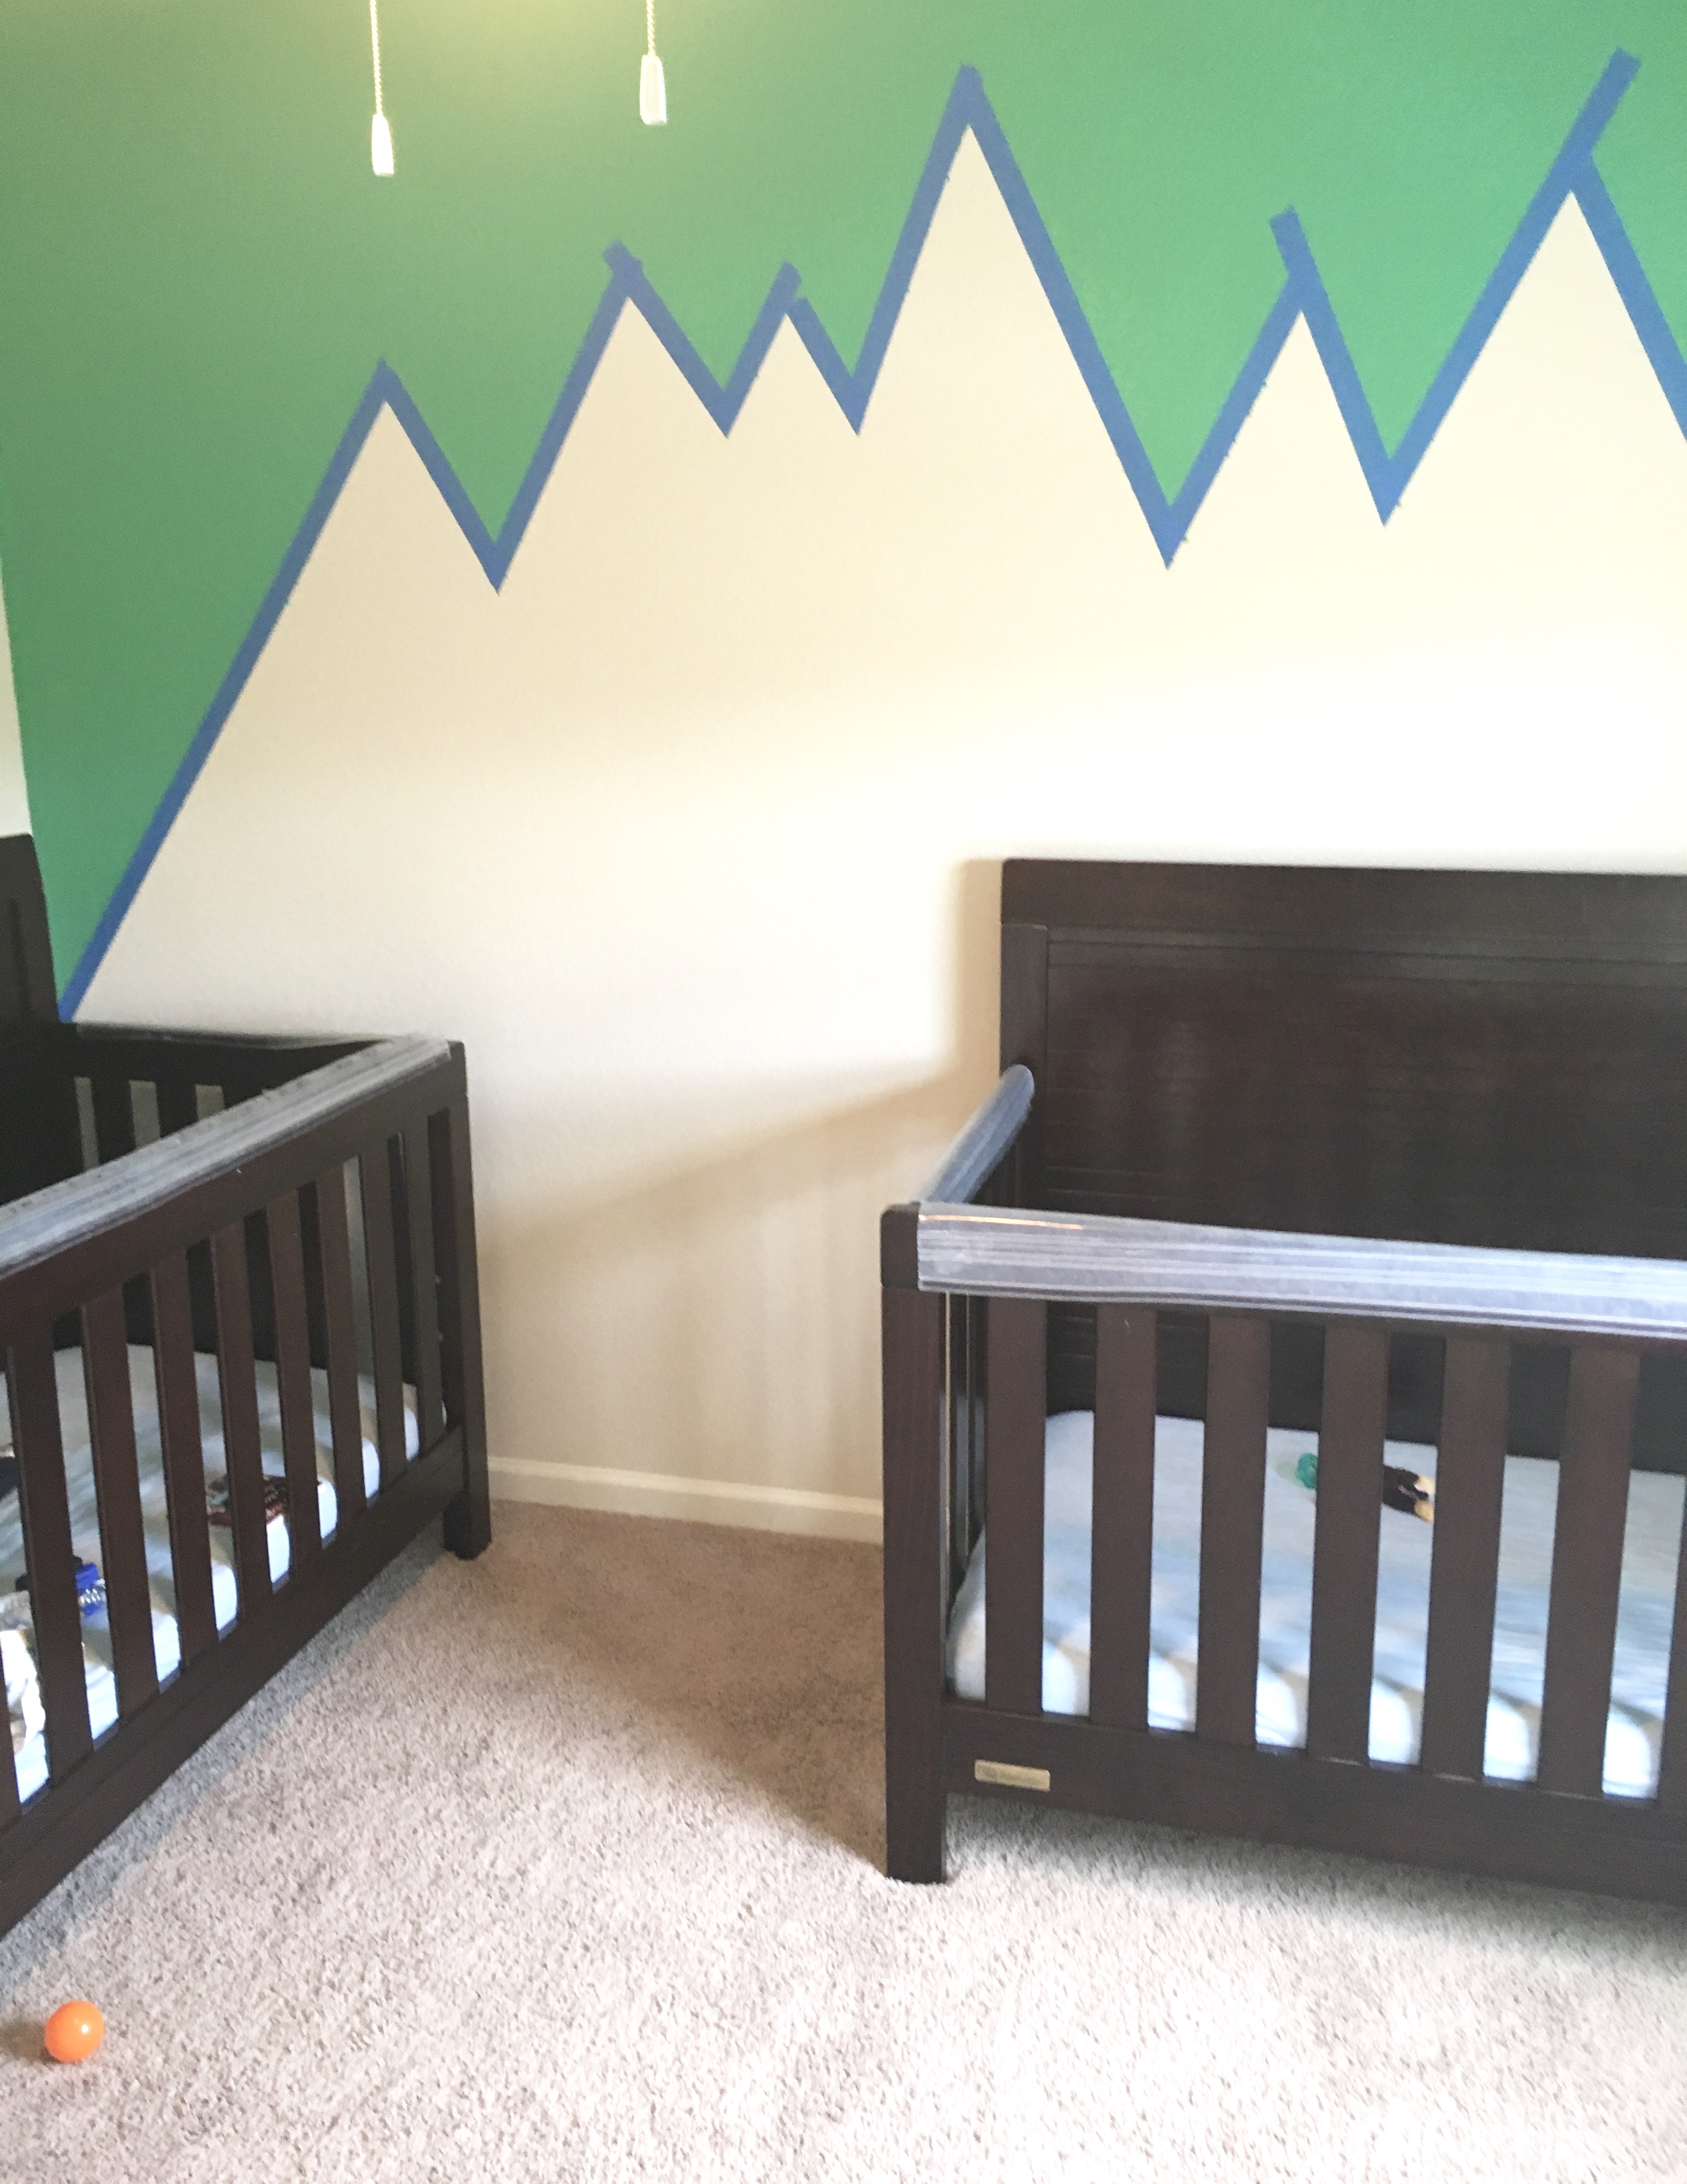
First things first, I taped off the mountain skyline, adjusting slightly until it I like the way it looked. If you know me, you know that I love to eyeball everything. I can’t stand measuring, using a ruler or following really intense directions.
Now you know why I am a terrible baker and hate putting together Ikea furniture…but I digressed here.
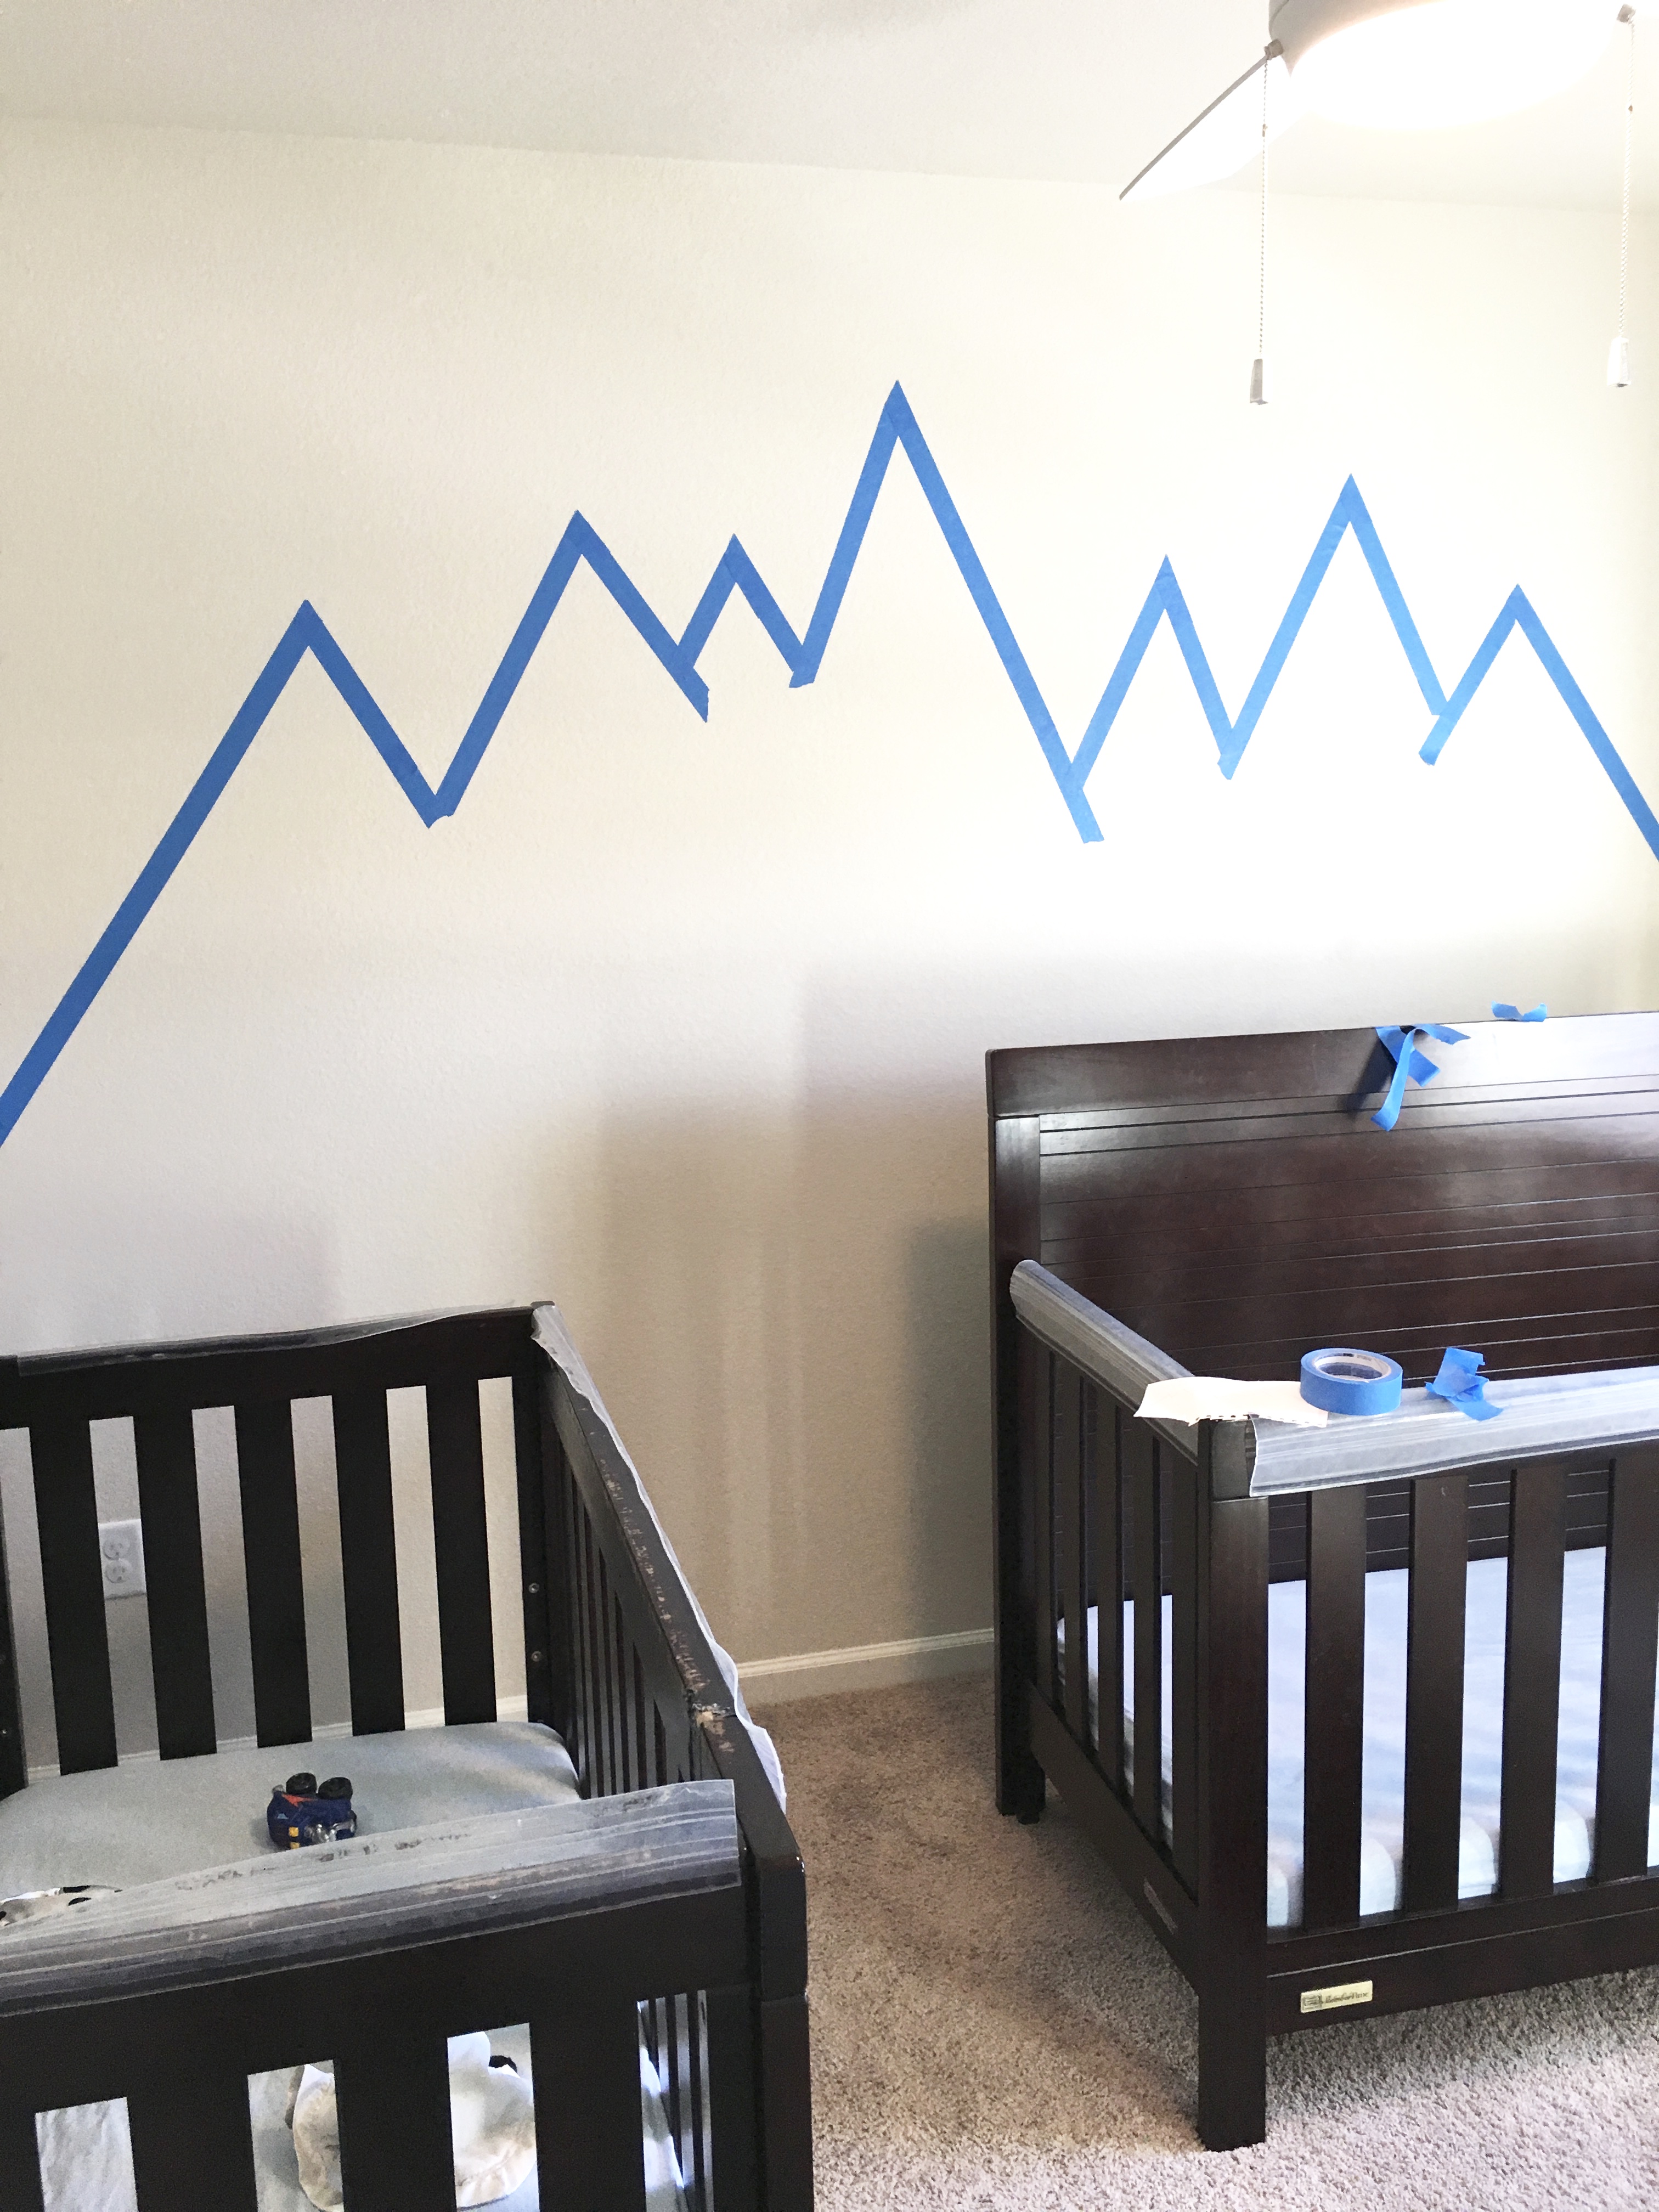
It took about 3 different attempts to get things looking the way I liked it.

SUPER SECRET PAINTING TIP:
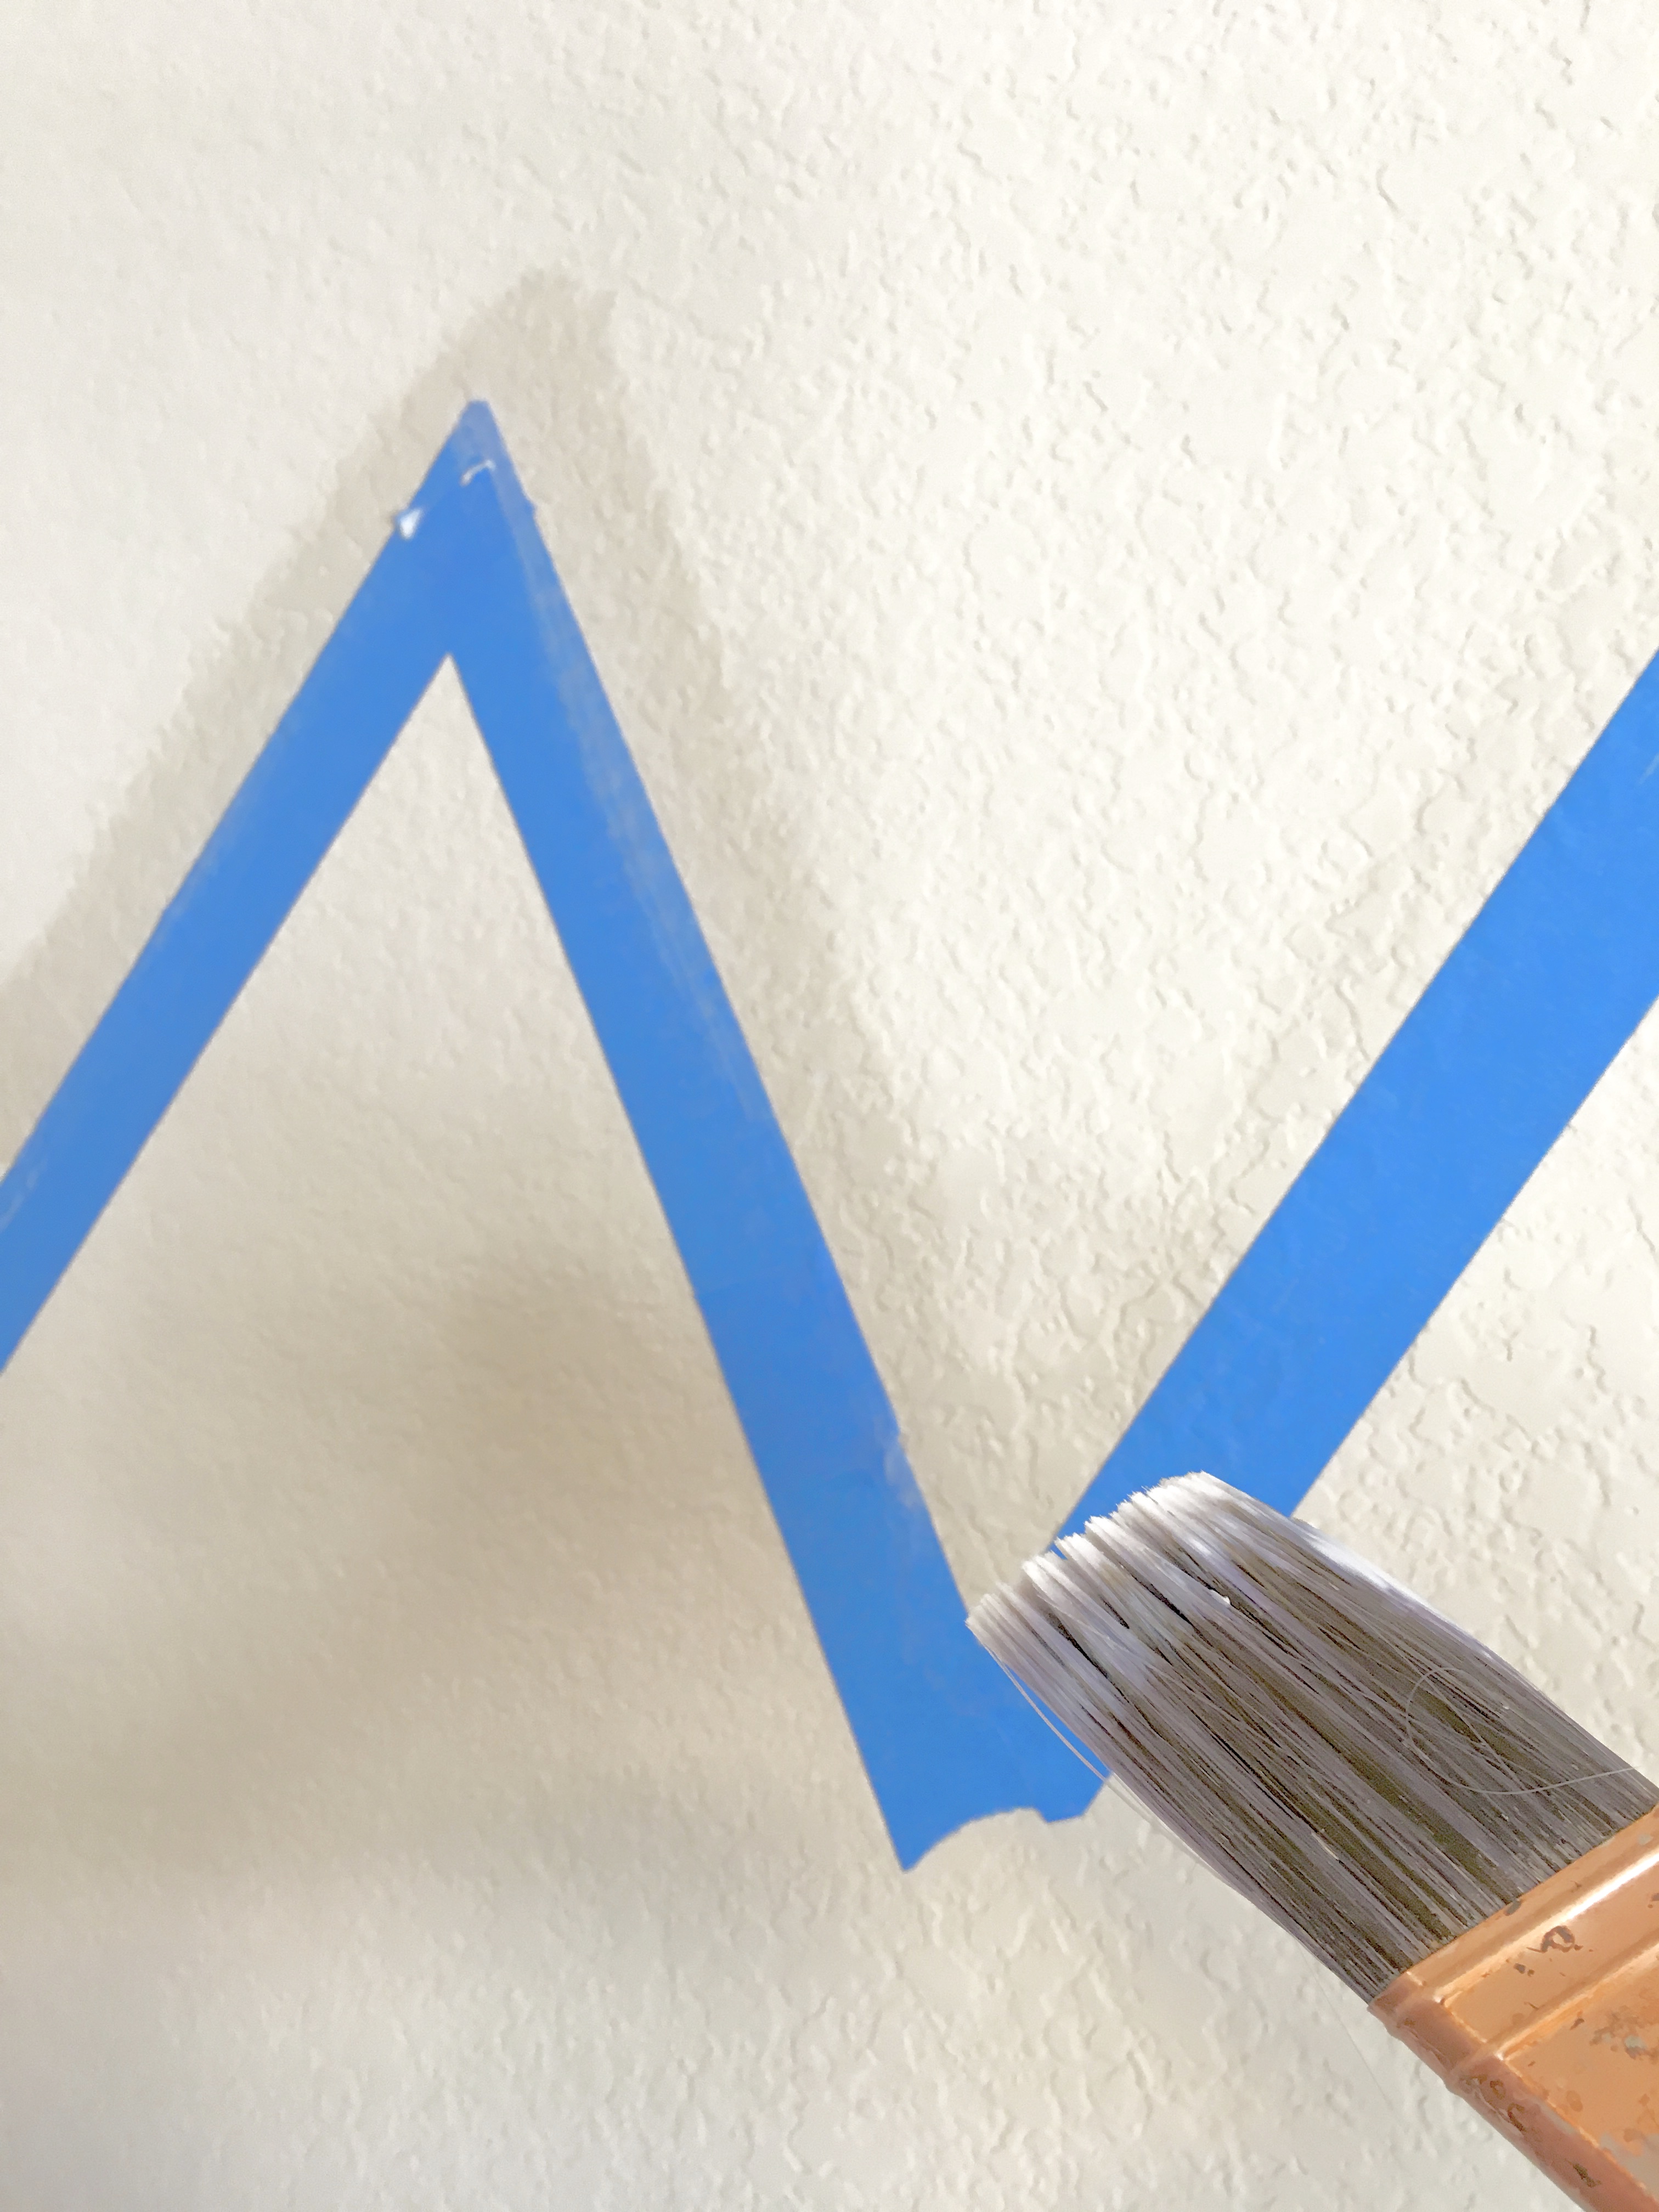
Have you ever tried painting a straight line only to rip the tape off and find that the paint has bled underneath? The solution is simple, buy a sample sized can of Behr Interior/Exterior paint without any color added to it. It should only cost about 3 bucks so trust me when I tell you skipping this little step isn’t worth it.
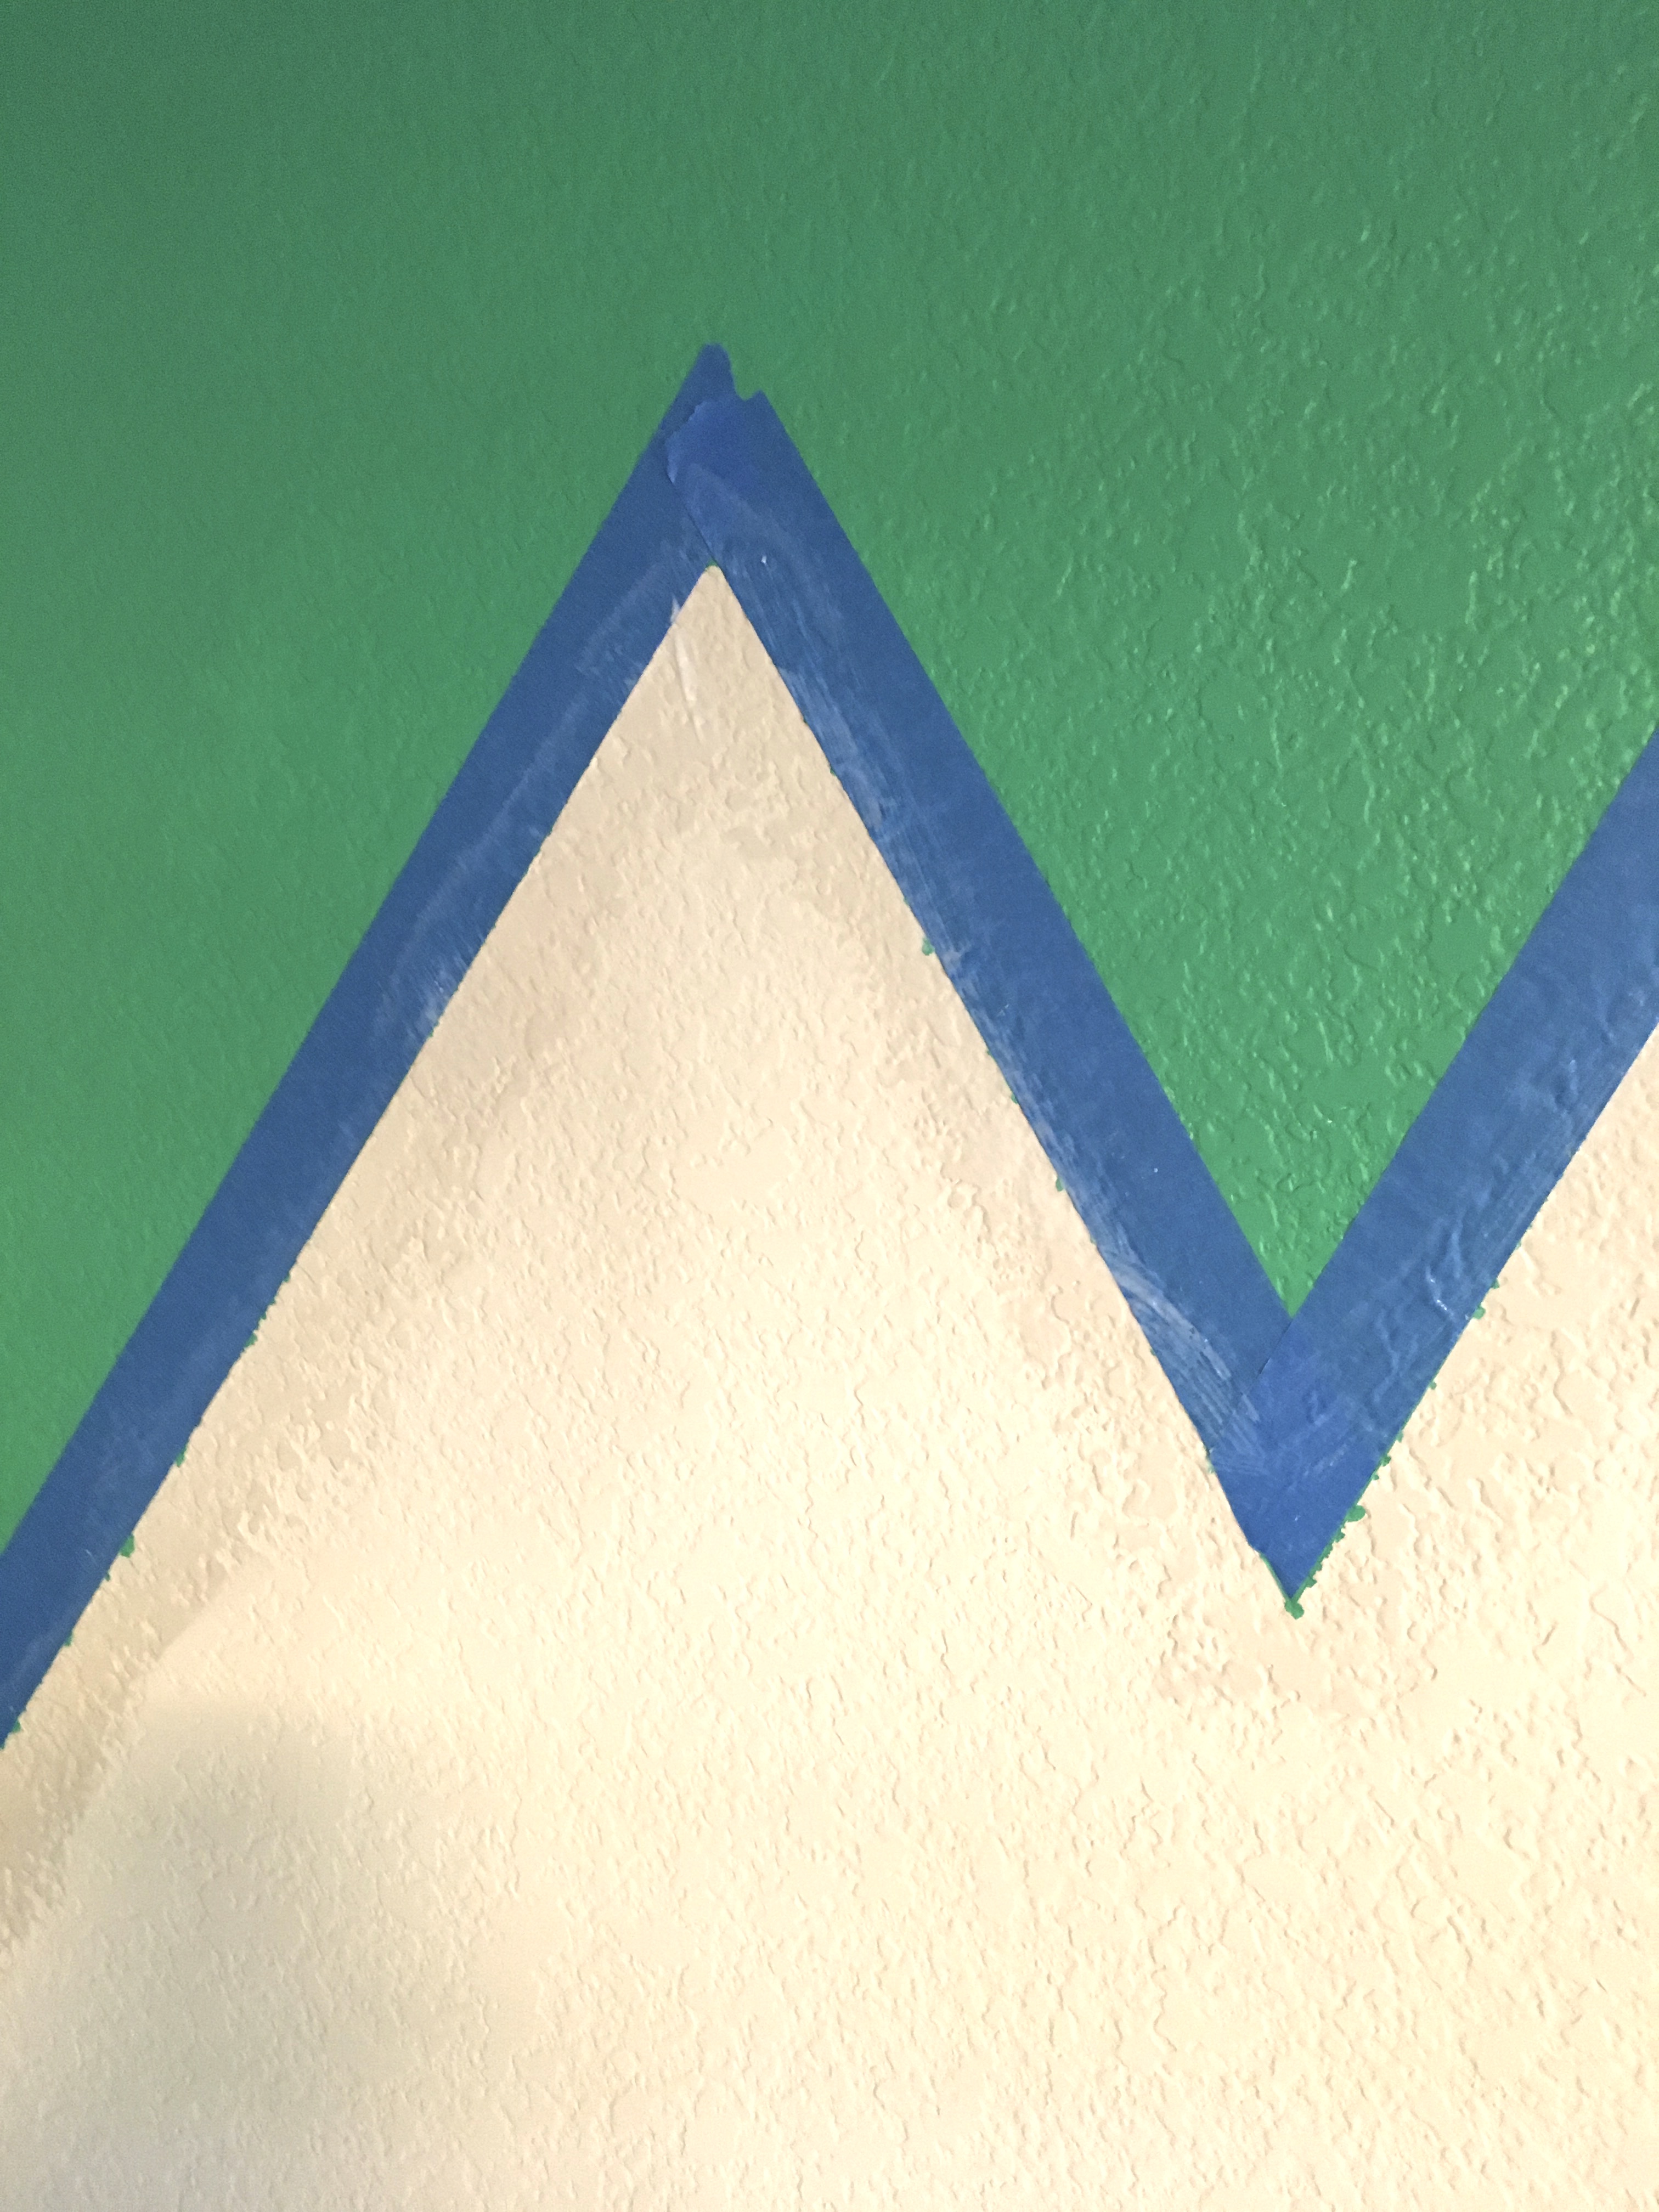
Use an angled brush, (I like this Purdy brush), and paint a thin layer of the colorless paint onto each side of the blue tape. This creates it a nice little seal and will guarantee that you get the clean, straight line you are dreamin’ of!
Give that step a few minutes to dry and then begin edging out the mountains with the color of your choice. You are going to need to peel the tape off as soon as you finish your initial line so it doesn’t dry. If the paint dries, you will have a hard time peeling the tape off and your line won’t be as clean.
Peel the tape starting at the bottom. See those clean lines?
Truth be told, this step took all of 4 minutes! This project is truly great for busy moms!
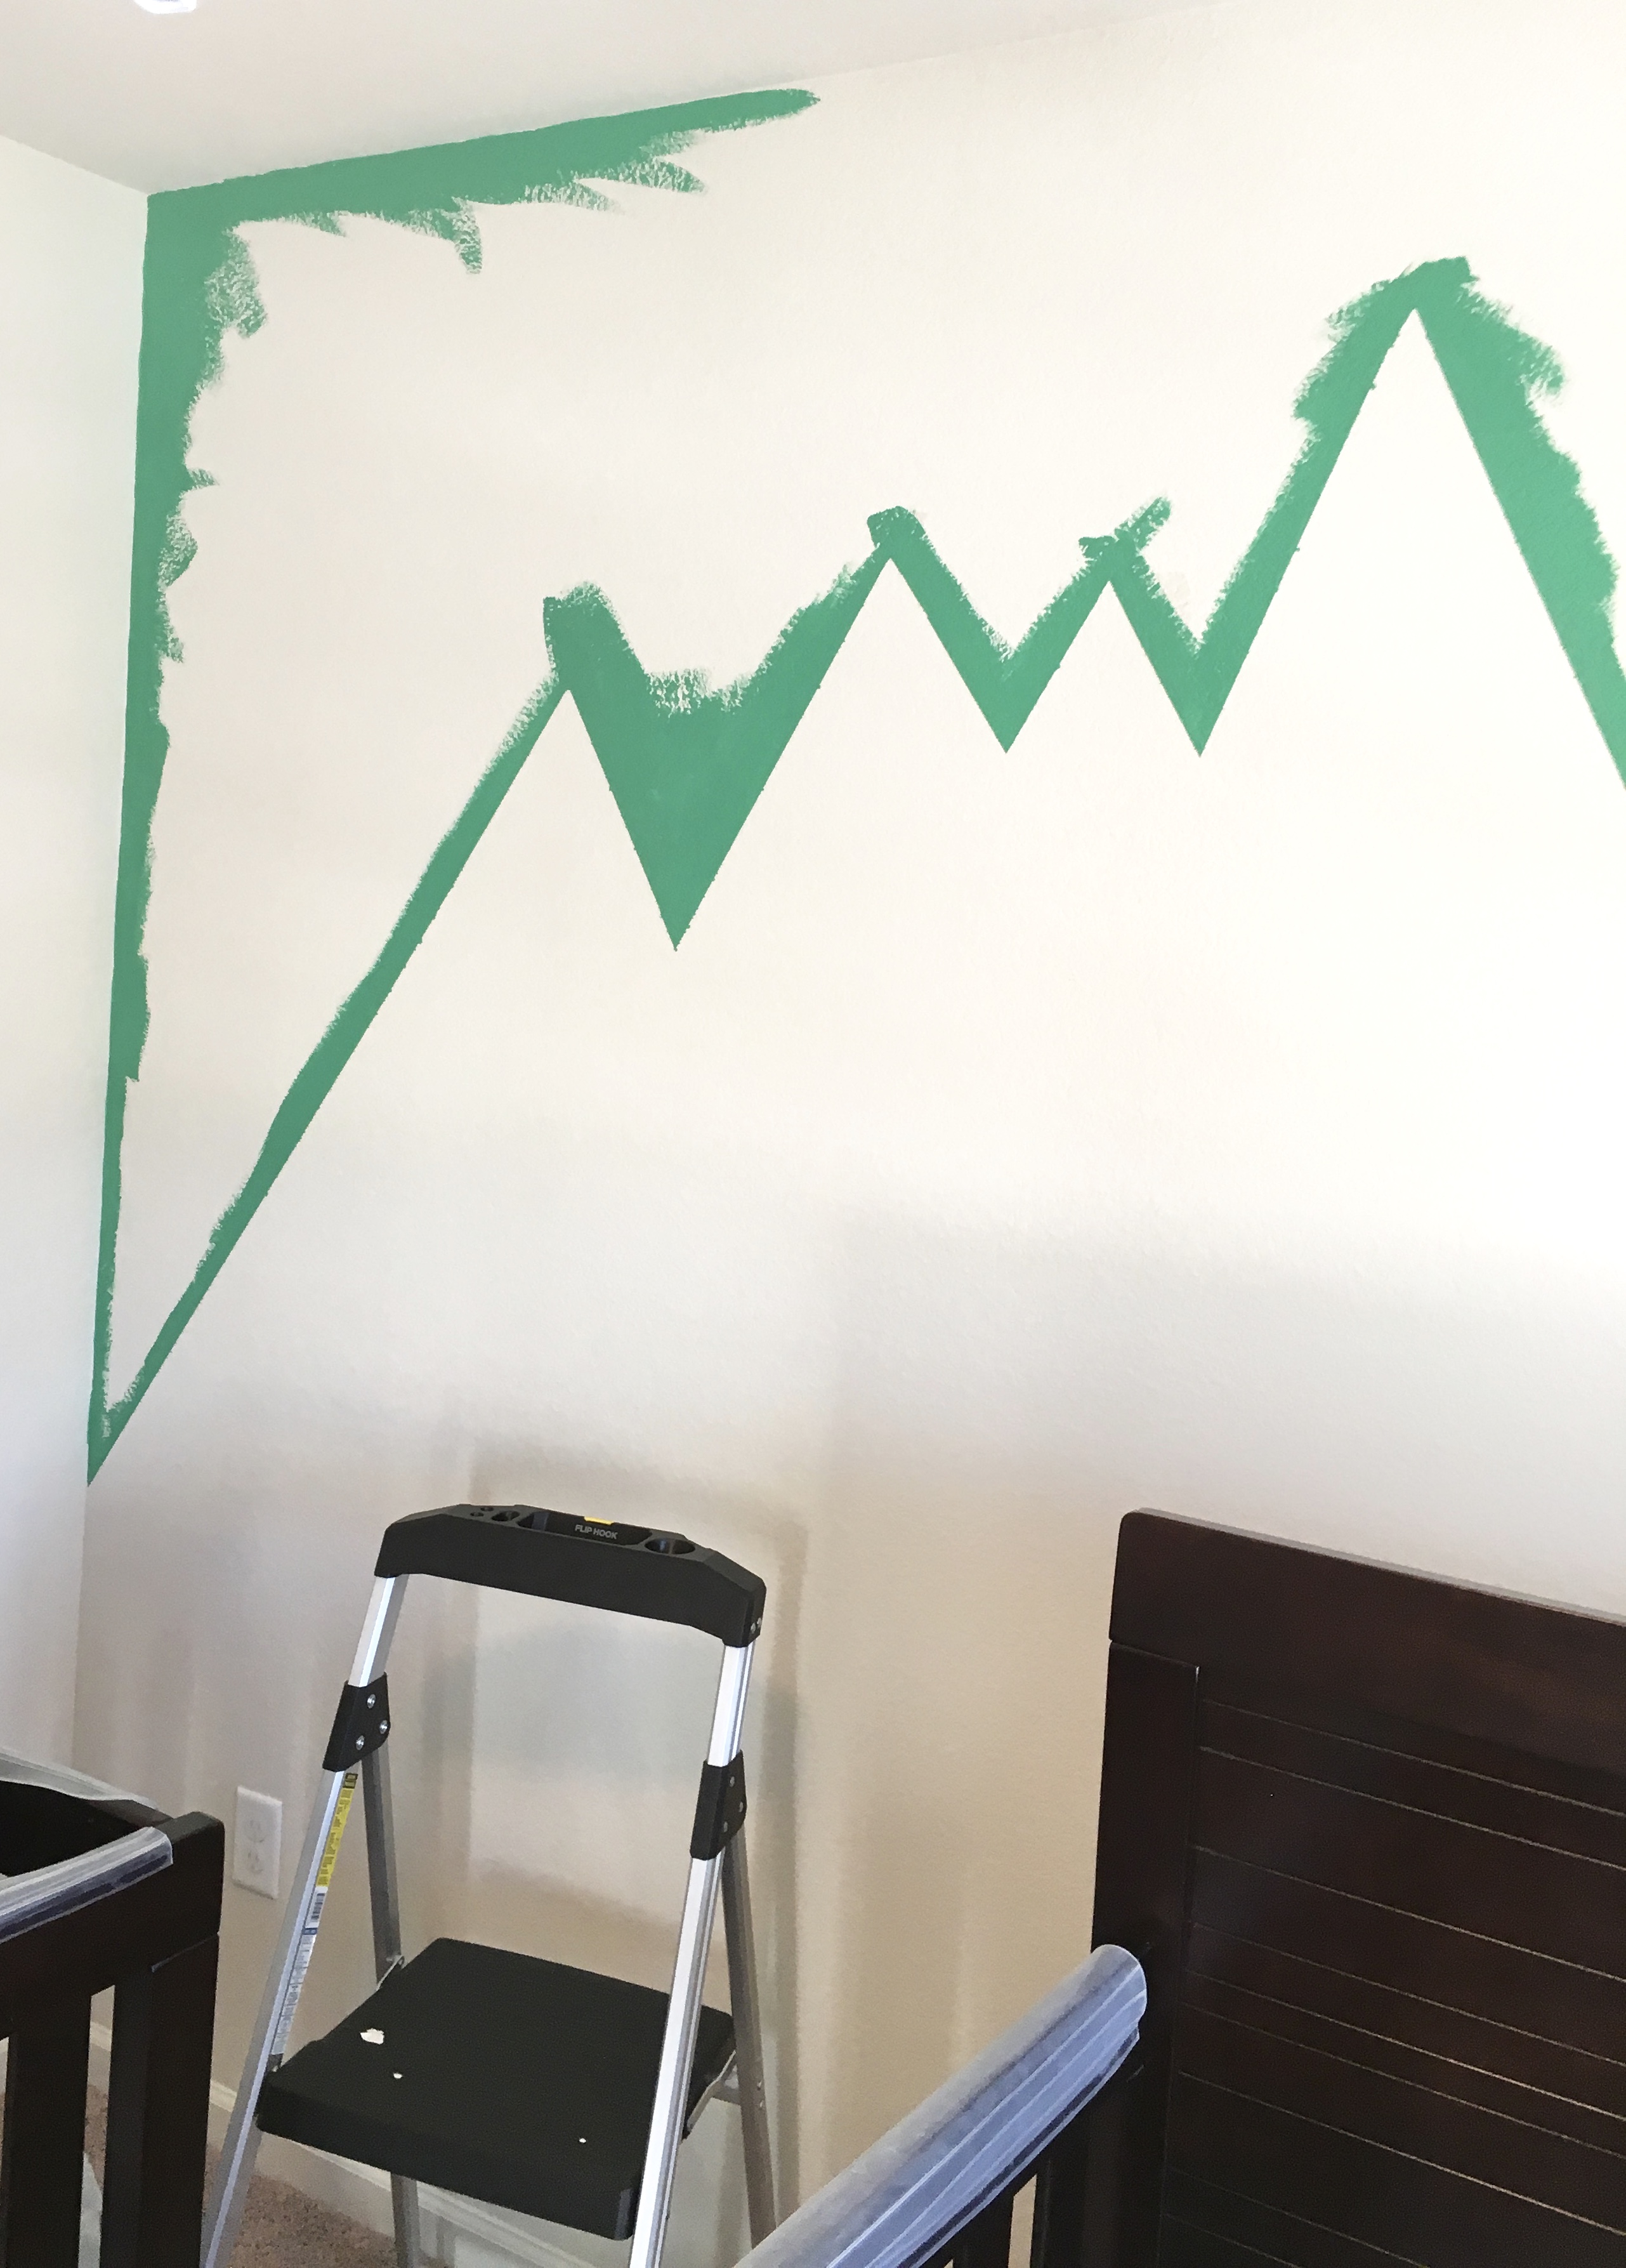
Amazing! Next, edge out the rest of your space with an angled brush before you roll on the rest of the color. I prefer to use this Purdy Angled brush to do the sides of the walls and ceiling. It’s faster and takes less time than taping the edges of the entire wall. Who doesn’t like to cut corners on a project when you can?
Roll on the paint and let it dry! I had to break this job up into two parts, again only because of the boys’ sleeping situation. This entire project, both parts combined, took a total of 2 hours. Boom!
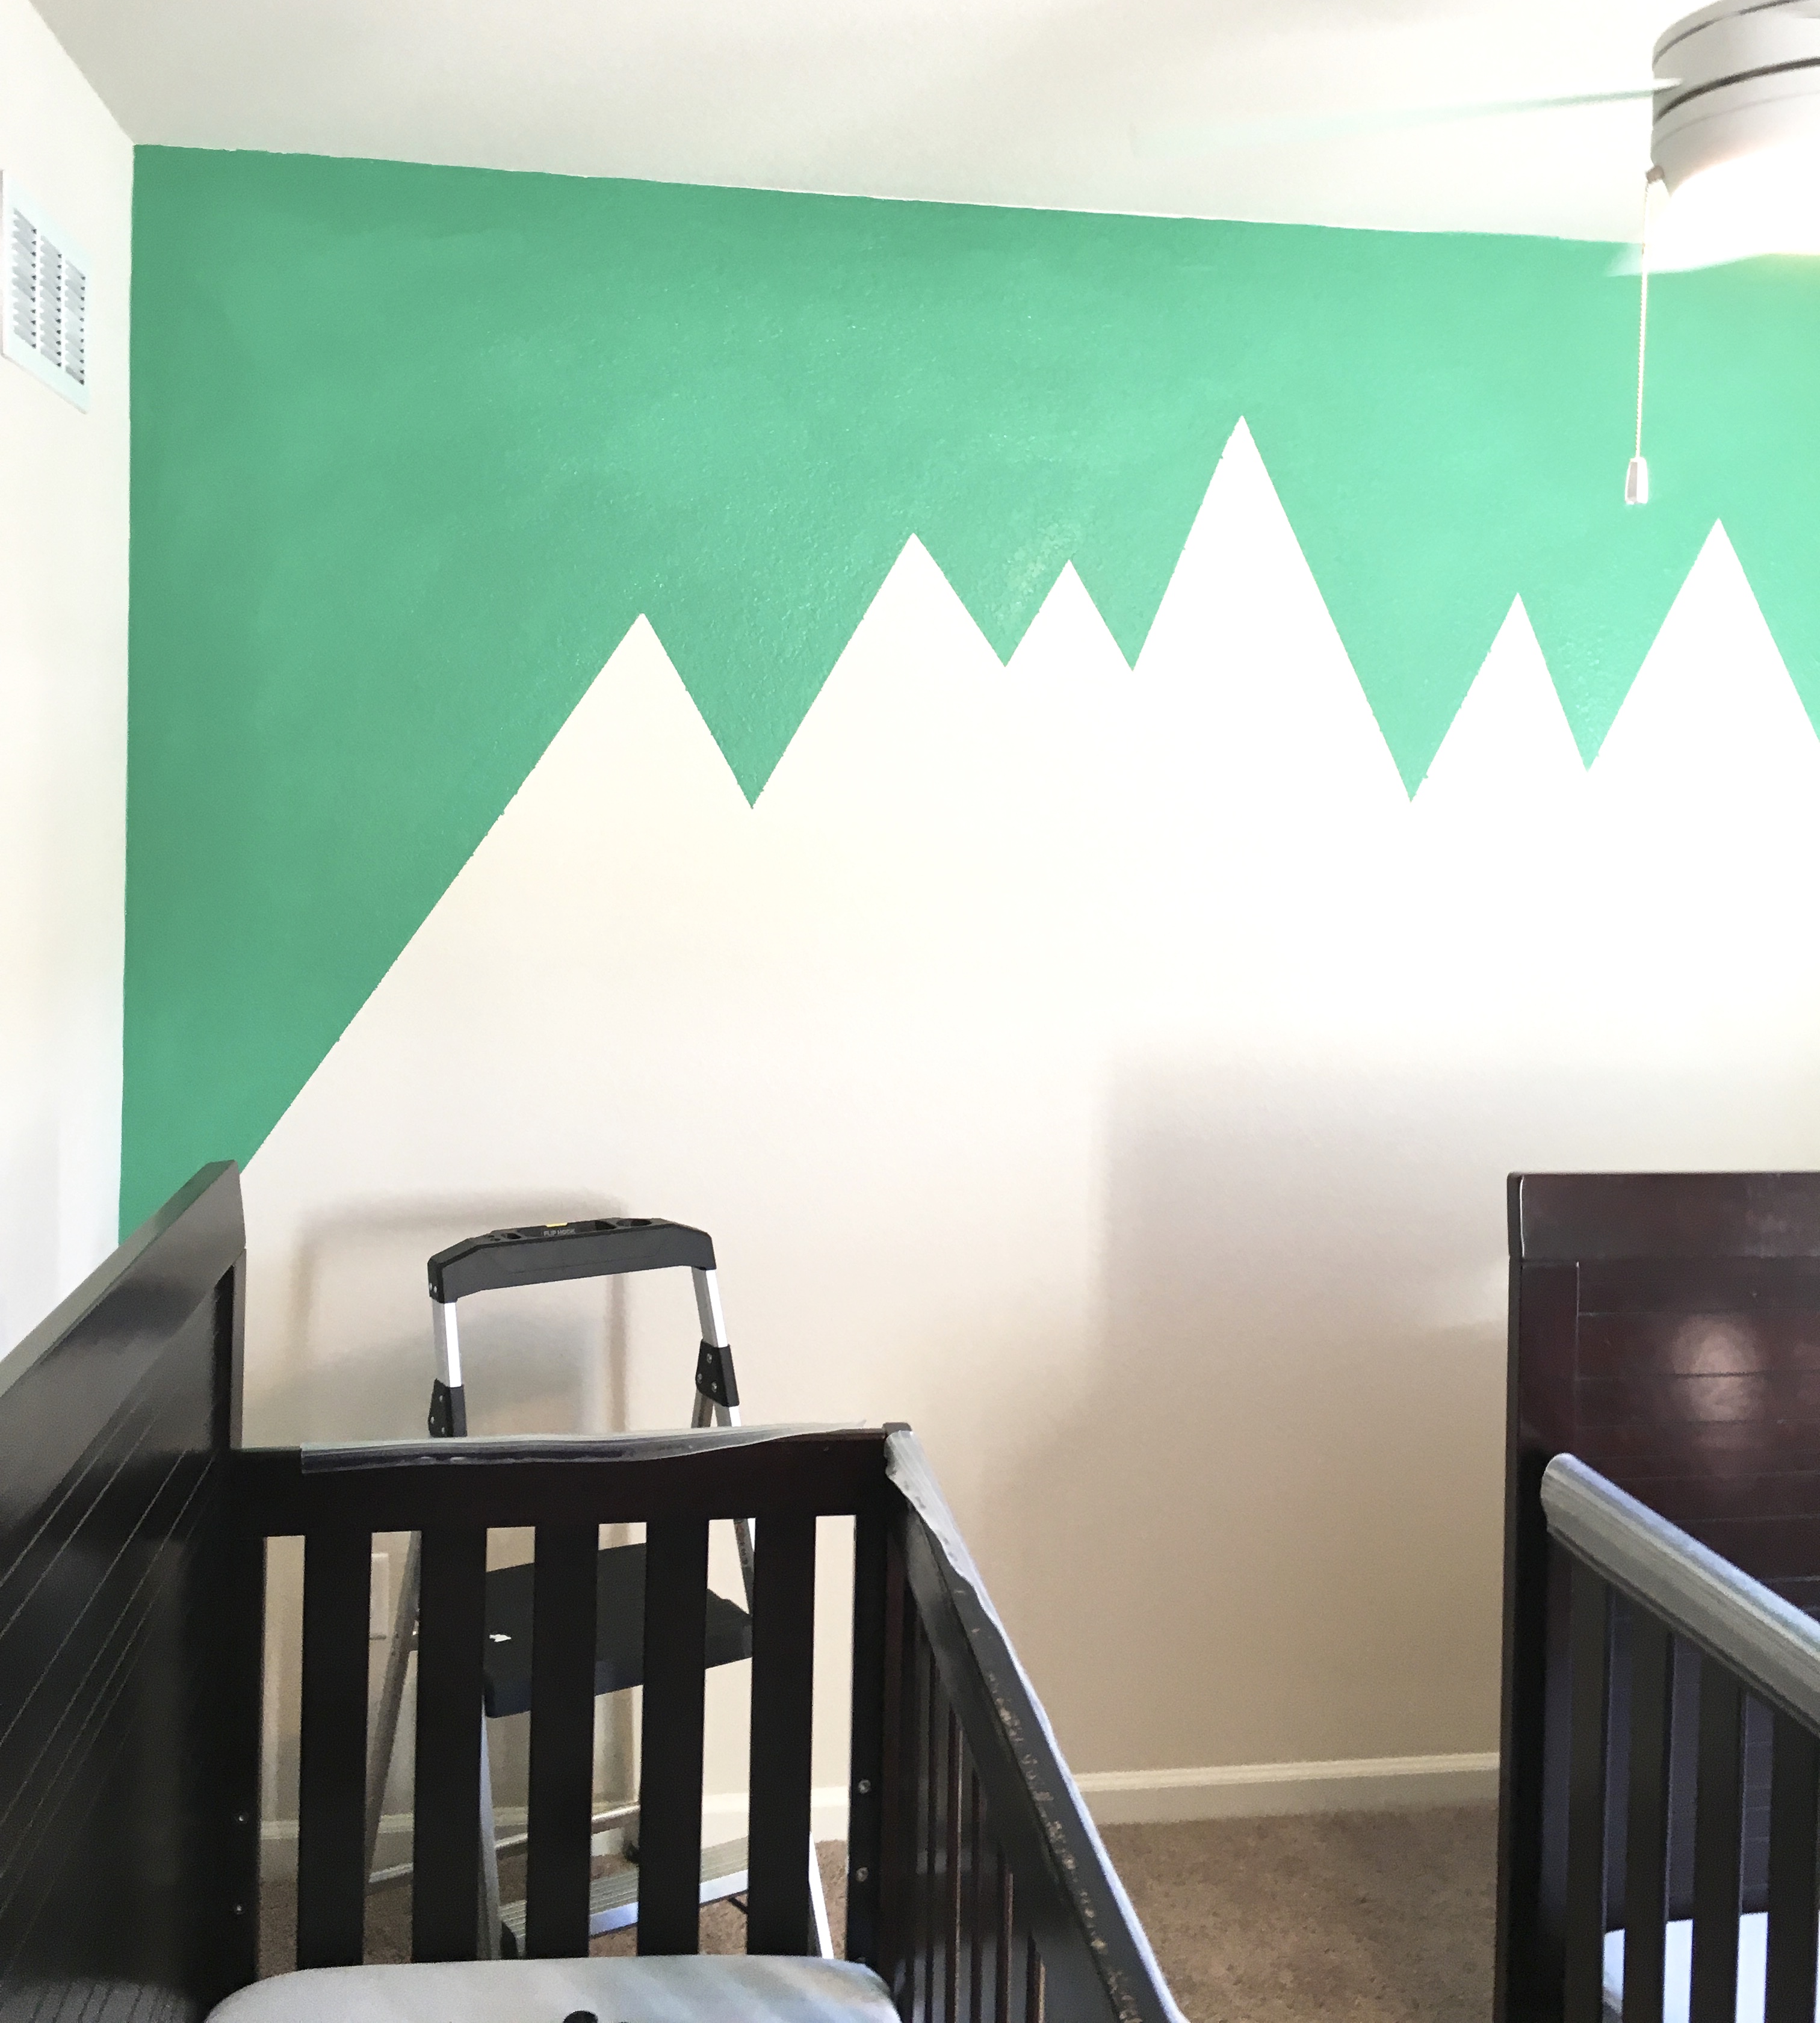
Are you diggin’ the bright and vibrant look of this wall as much as I am?
Let your paint dry!
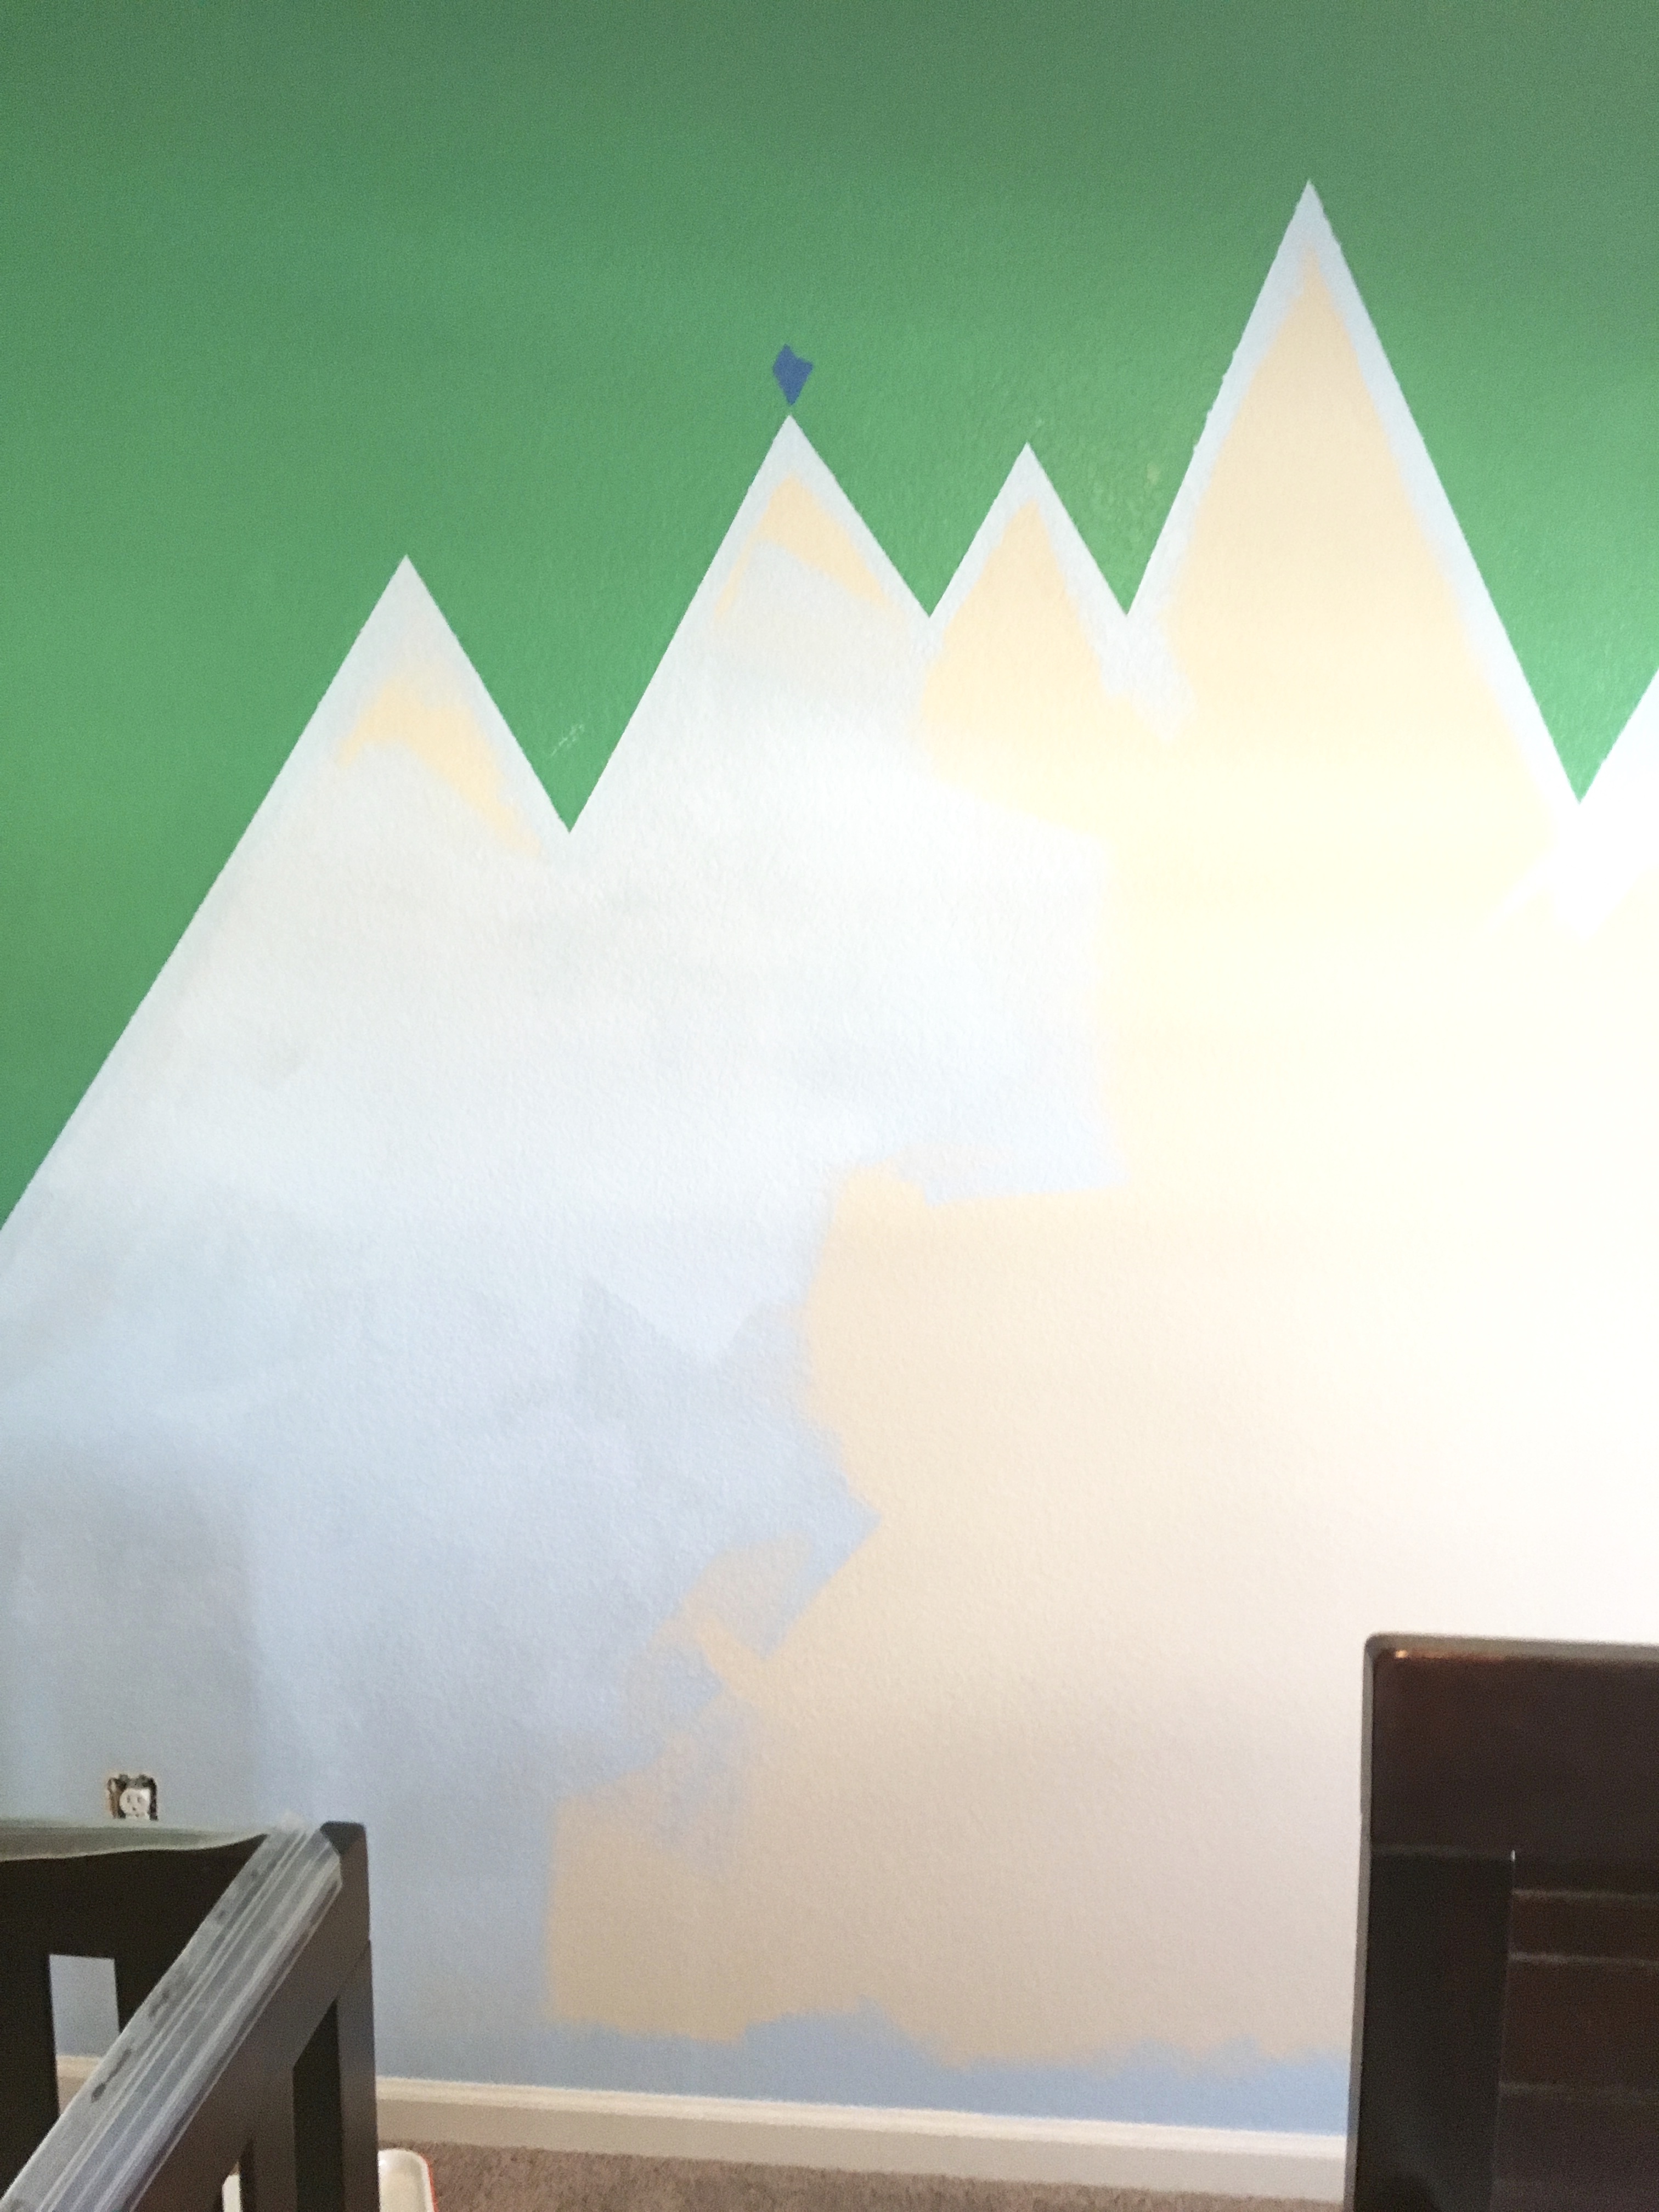
Now all you have left to do is repeat the same steps for the bottom half of your wall. Easy-peazy, right?
Make sure the top of the wall is completely dry before you lay down the tap onto the green side of the wall.
Carefully tape as close to the same skyline that you created earlier, leaving no space between the tape and unpainted wall, or else you will have some touching up to do!
Paint the Behr Sample Paint on the tape to seal the first color line and again to get that cleanly painted line.
This time edge the bottom half of the wall with the second paint color using your angled brush. Once you are finished, immediately peel the tape away in an upward motion.
Lastly, finish painting the wall with your second color!
Side note:
I went back and touched up the wall after I completed the bottom half. This blue looks icy and light, but in reality it’s a nice bright hue!
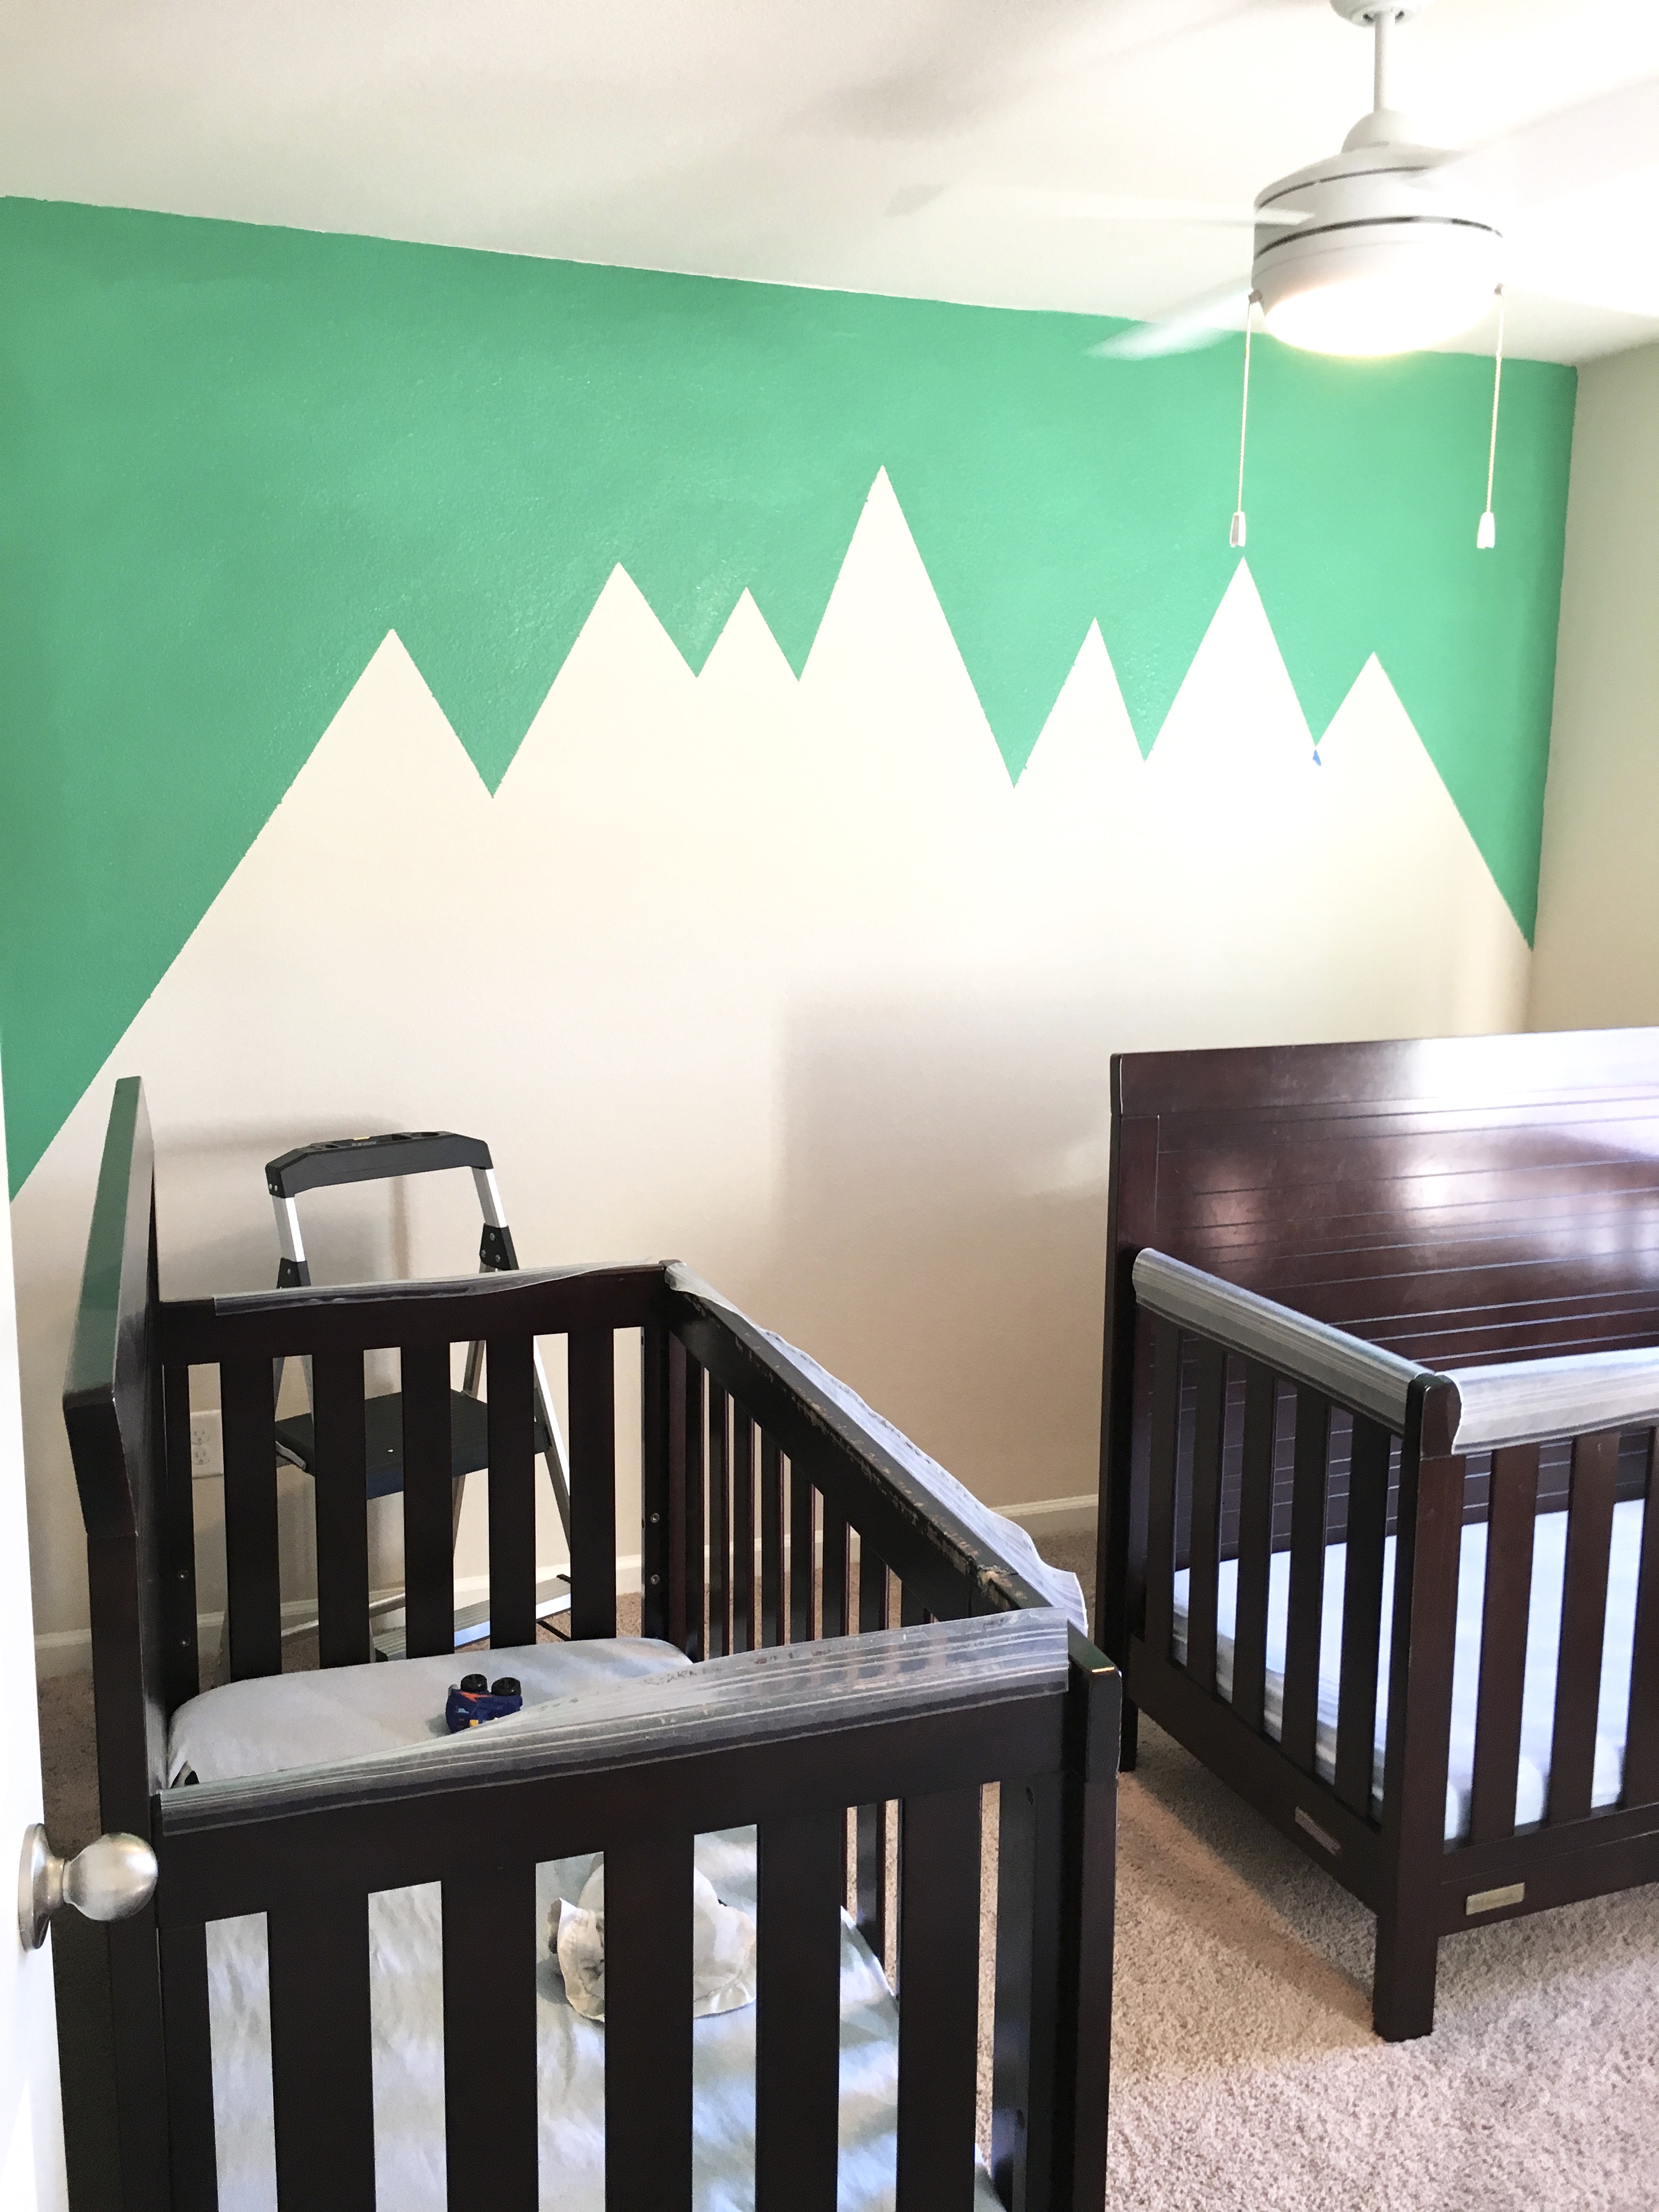
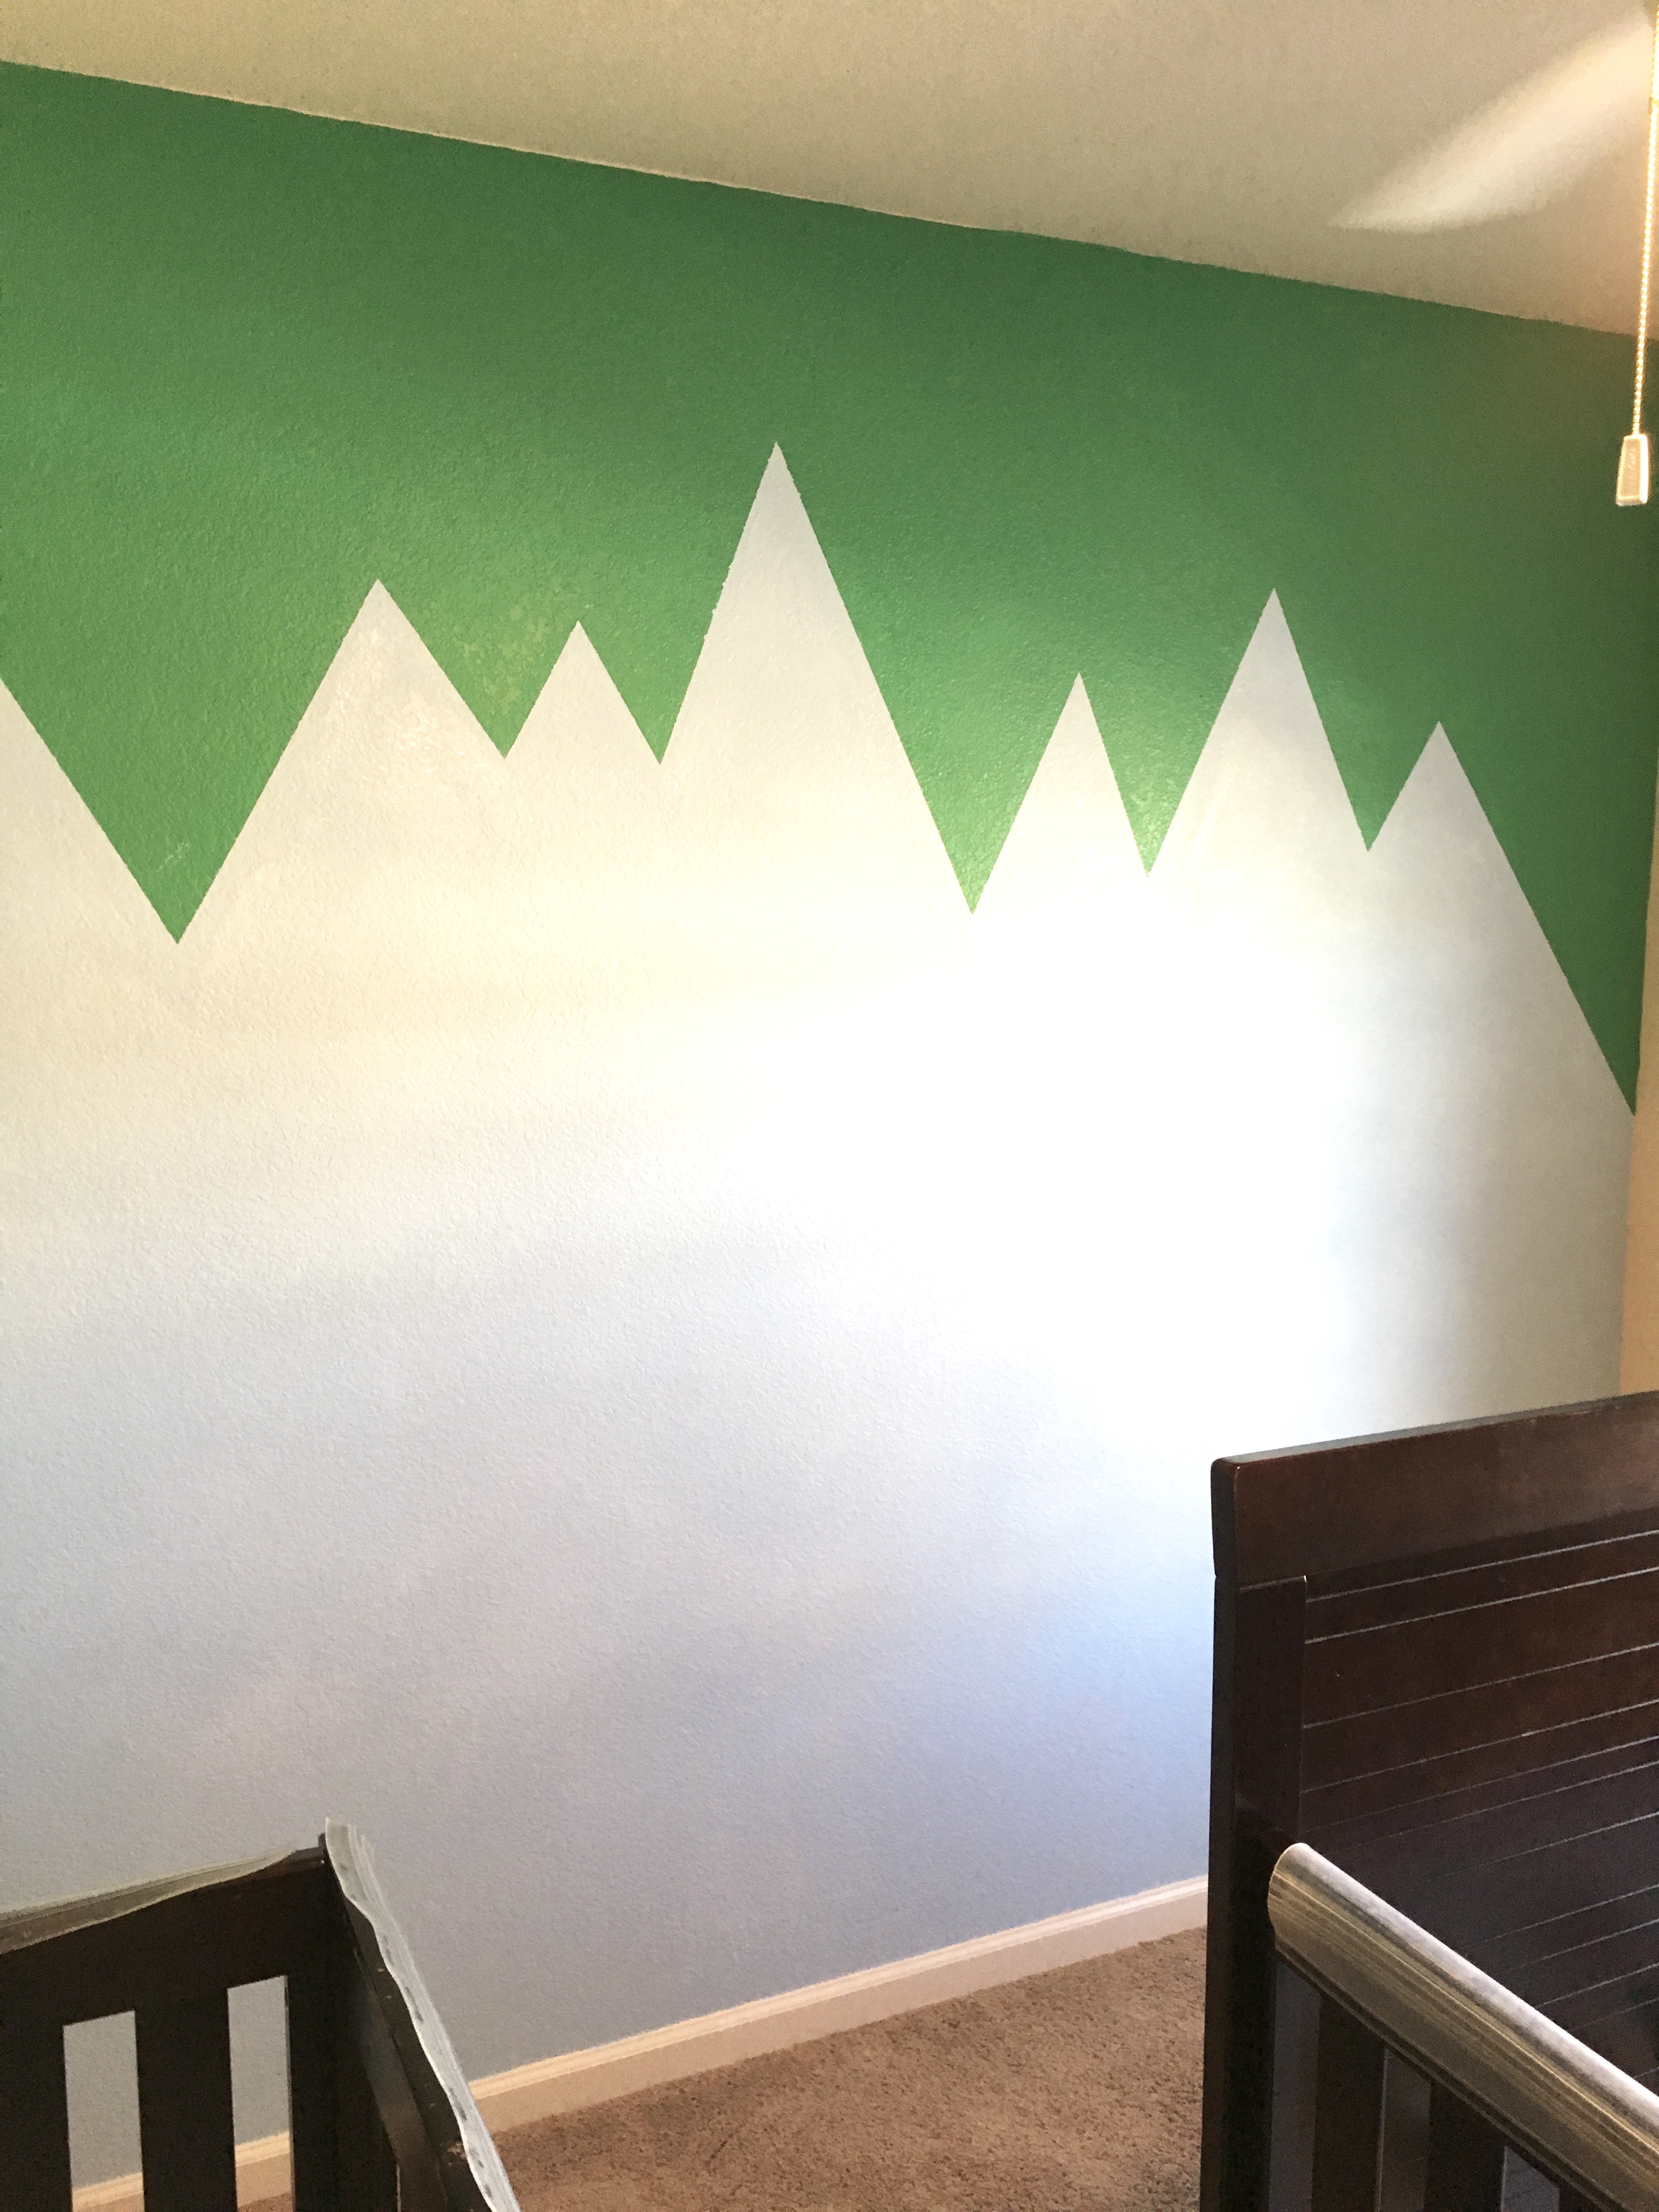
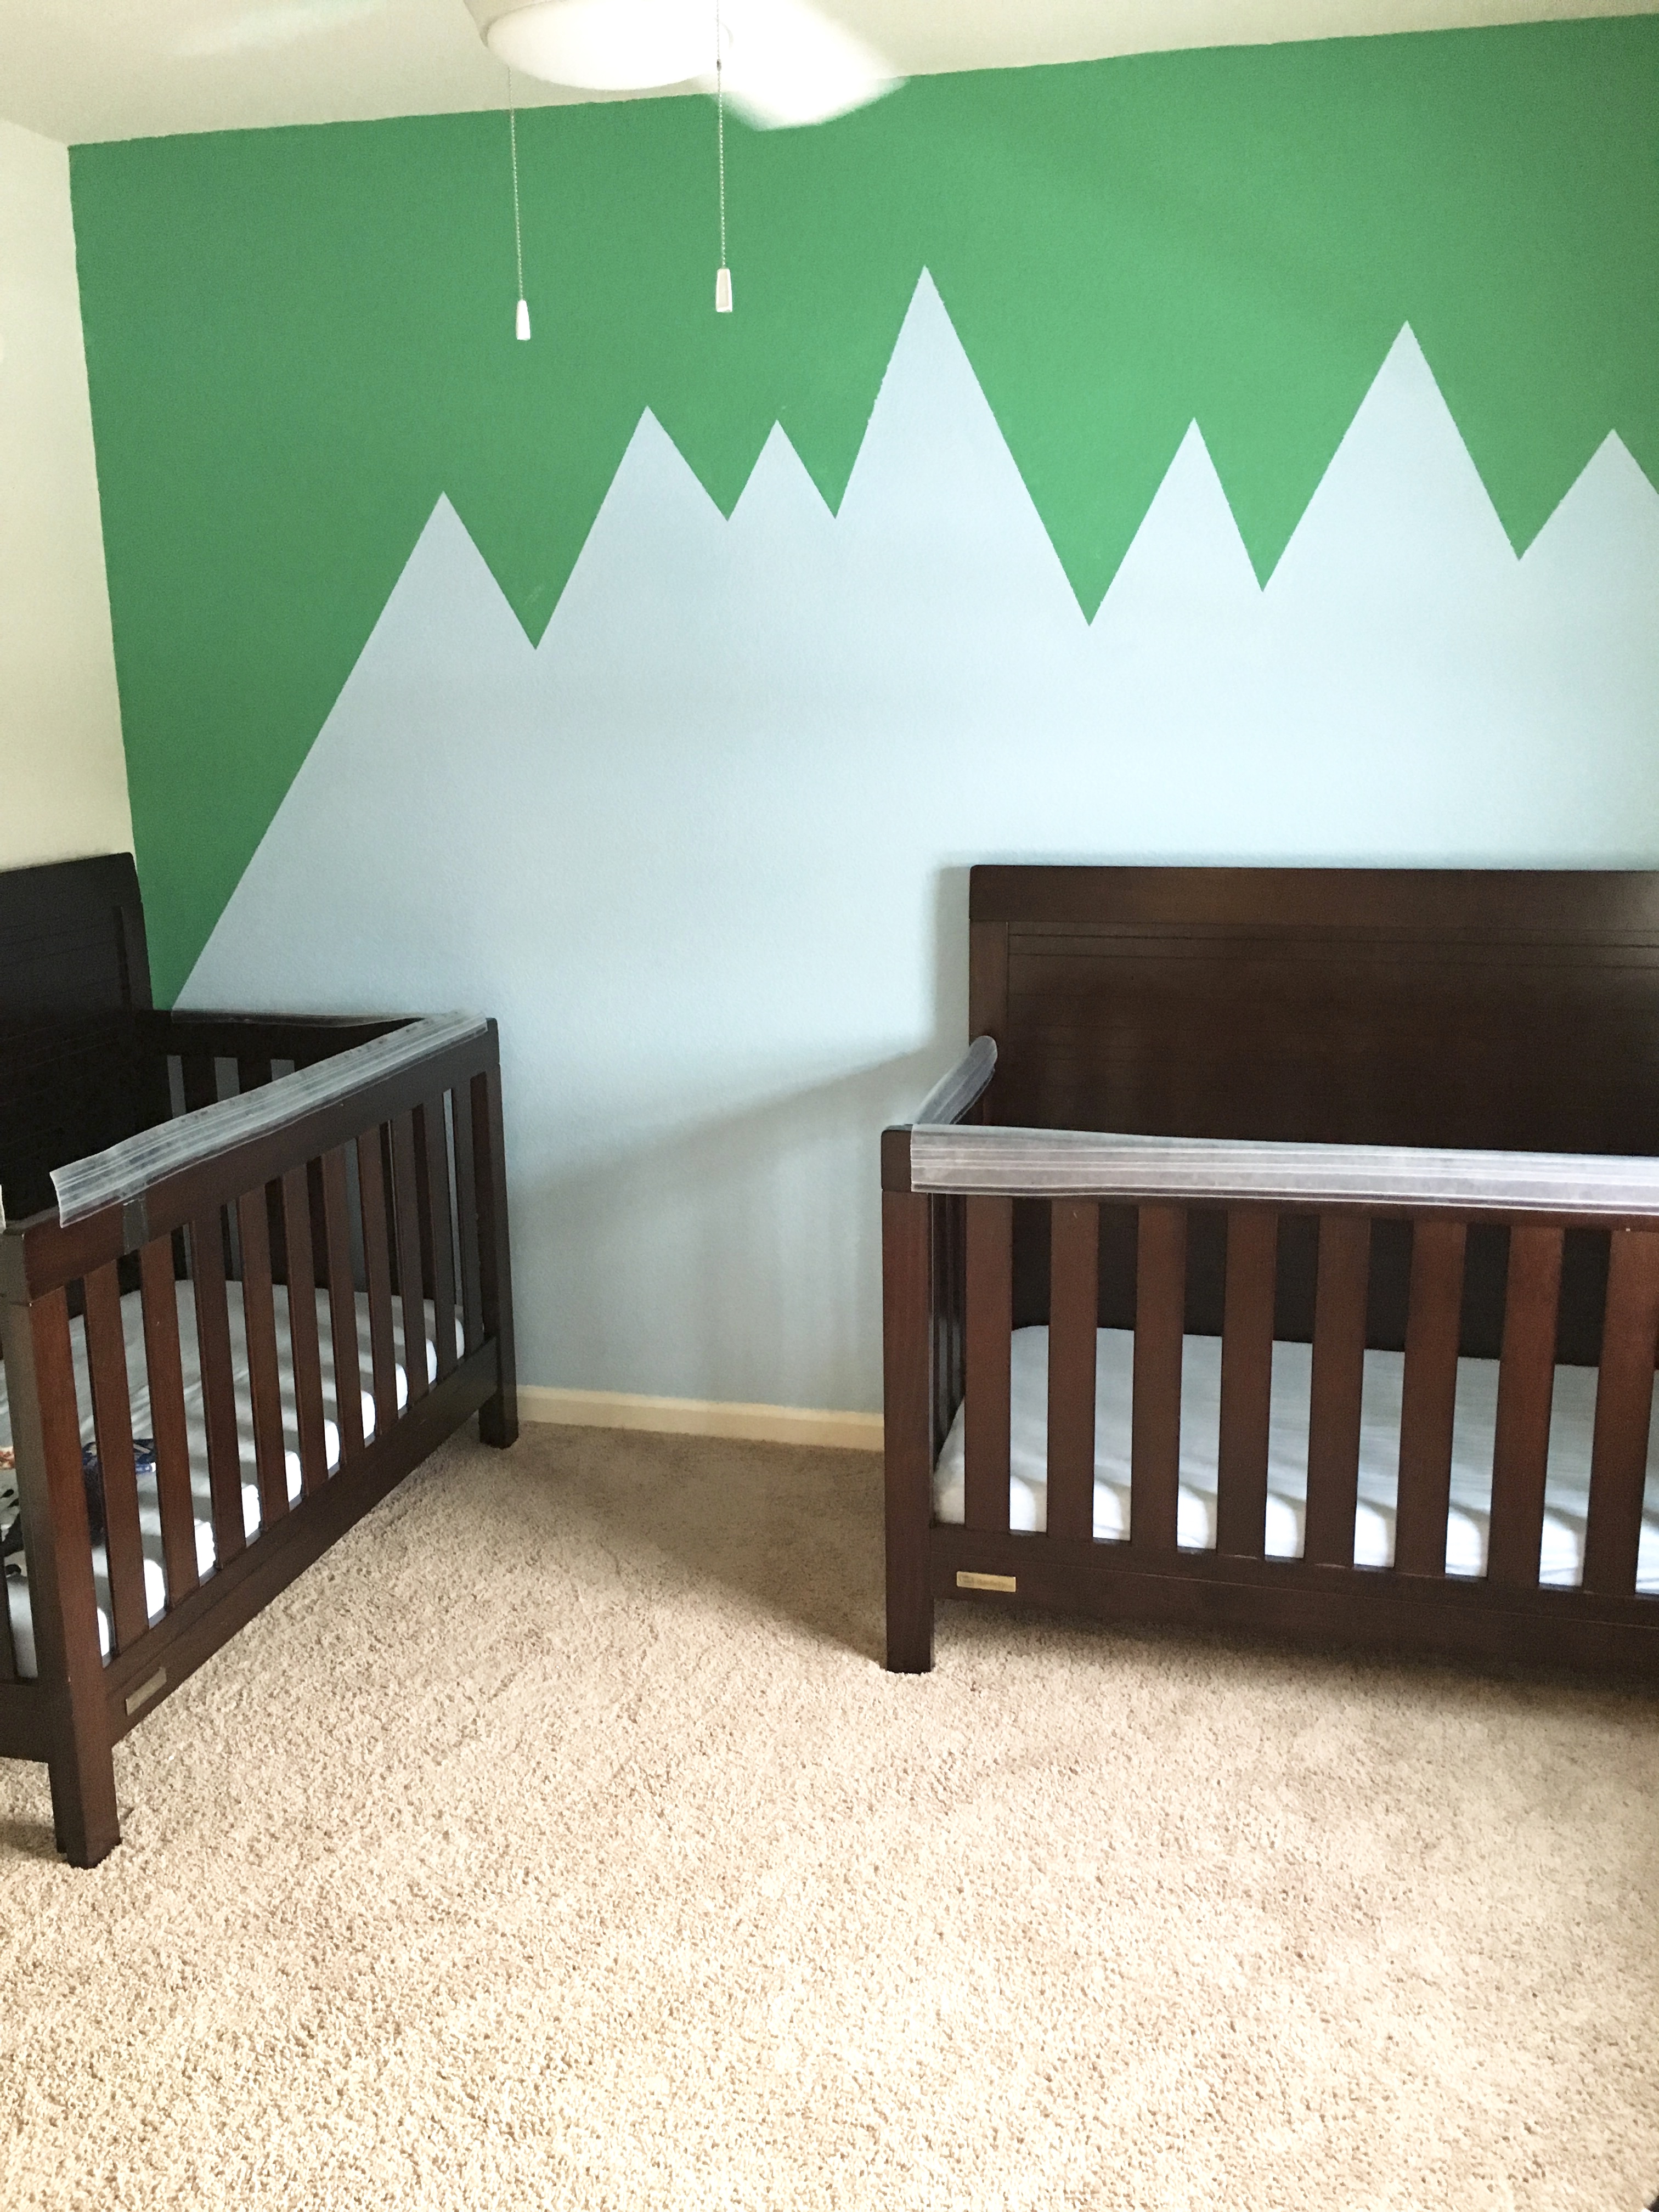
And here is the finished wall…
Bam! Just like that, we have an accent wall that the boys love! Before bedtime they point and want to touch the tips of each mountain. It is the perfect way to remind them that they too can move mountains.
Now I need add some simple decor to make it feel more put together.
Since I am dealing with a small space I will need to be creative about where I hang items on the walls and place additional furniture.
I am open for any and all decor tips for this small space. Chime in below.
Also, stay tuned for my posts about adding decor to this room and decorating small spaces on a budget! They’ll be coming soon!




This is so cute!!! Also, love the simplicity!!
We’re so glad that you love it! We would love to hear if you decide to try it out in your home!
You did a great job, simple and sober looks amazing, Thanks for sharing! Keep posted.
Thank you so much. We are so glad that you stopped by!
Hey Meghan,
Congrats on the post and on your DIY job … the fact that it’s so simple it doesn’t take out of the equation that uou have to have a little bit of skill to do it.
I’ve got inspired by your post and I’m looking to do some DIY for babygirl bedroom walls as well.
Thanks
Hi Adrian….we are so happy to hear that you are inspired by this post. Thank you for stopping by and we’d love to see pics of your baby girl’s nursery!
Hi Meghan, thanks for your reply.
I’ll be more than happy to share my DIY with you guys, I just need to find the time to do it 🙂
Let’s see what 2018 bring for us … I for one, I definitely want some more free time to do more DIY … keep posting!
Thanks
BTW …Happy New Year!
Hi Adiran! Happy New Year! I am with you in hoping to find more time for DIY. Keep up the good work.